
For a longer YouTube video, build the narration in sections that can be revised independently. Write the tutorial or story first, generate each section with Voice AI in Canva, and edit the visuals around the approved audio. This keeps a correction in the middle of the video from becoming a complete restart.
The example here is a tutorial about organizing project files. It focuses on planning, recording-length decisions, and revisions rather than promises about views, monetization, or a particular YouTube recommendation system.
Outline the video around questions the viewer needs answered
Write the outcome at the top of your script: “By the end, you will have a folder structure you can reuse for a new project.” Each section should help the viewer reach that outcome. Remove background information that does not change what they need to do.
For this example, use four sections: show the result, create the folders, sort sample files, and check the finished structure. Give each section a working name so you can match its script, audio, and visuals later.
- Introduction: show the organized result and explain who the tutorial is for.
- Setup: demonstrate the small set of folders the viewer will create.
- Walkthrough: move a few sample files and explain ambiguous cases.
- Review: show a final checklist and the next action.
Write narration that works beside a demonstration
Use specific nouns instead of repeated phrases such as “click here” or “do this.” A viewer may look away from the screen for a moment, so the spoken instruction should still identify the action. Avoid narrating every cursor movement when the visual already makes it clear.
Example introduction
“A project is easier to reopen when you know where everything belongs. We will make three folders, sort a few sample files, and check the result. You can use the same approach the next time you start a project.”
Example walkthrough section
“Put the original photos in Source Files. Keep the editable design in Working Files. Save the exported video in Deliverables. If you are not sure where a file belongs, ask whether you will edit it again or share it as a finished result.”
These are original script examples. Adapt them to the actual software and files shown in your footage, and remove any step you are not demonstrating.
Generate and approve one section at a time
Open Voice AI by imagination-soft inside your Canva video design. Choose a voice and test a paragraph containing the tutorial's important terms. Set a comfortable speaking speed, then generate the first section and listen before proceeding.
Use the same voice and settings for related sections. Keep a record of the exact script version so a later replacement has the same wording and delivery style. Splitting at complete thoughts is more useful than cutting the script at an arbitrary number of characters.
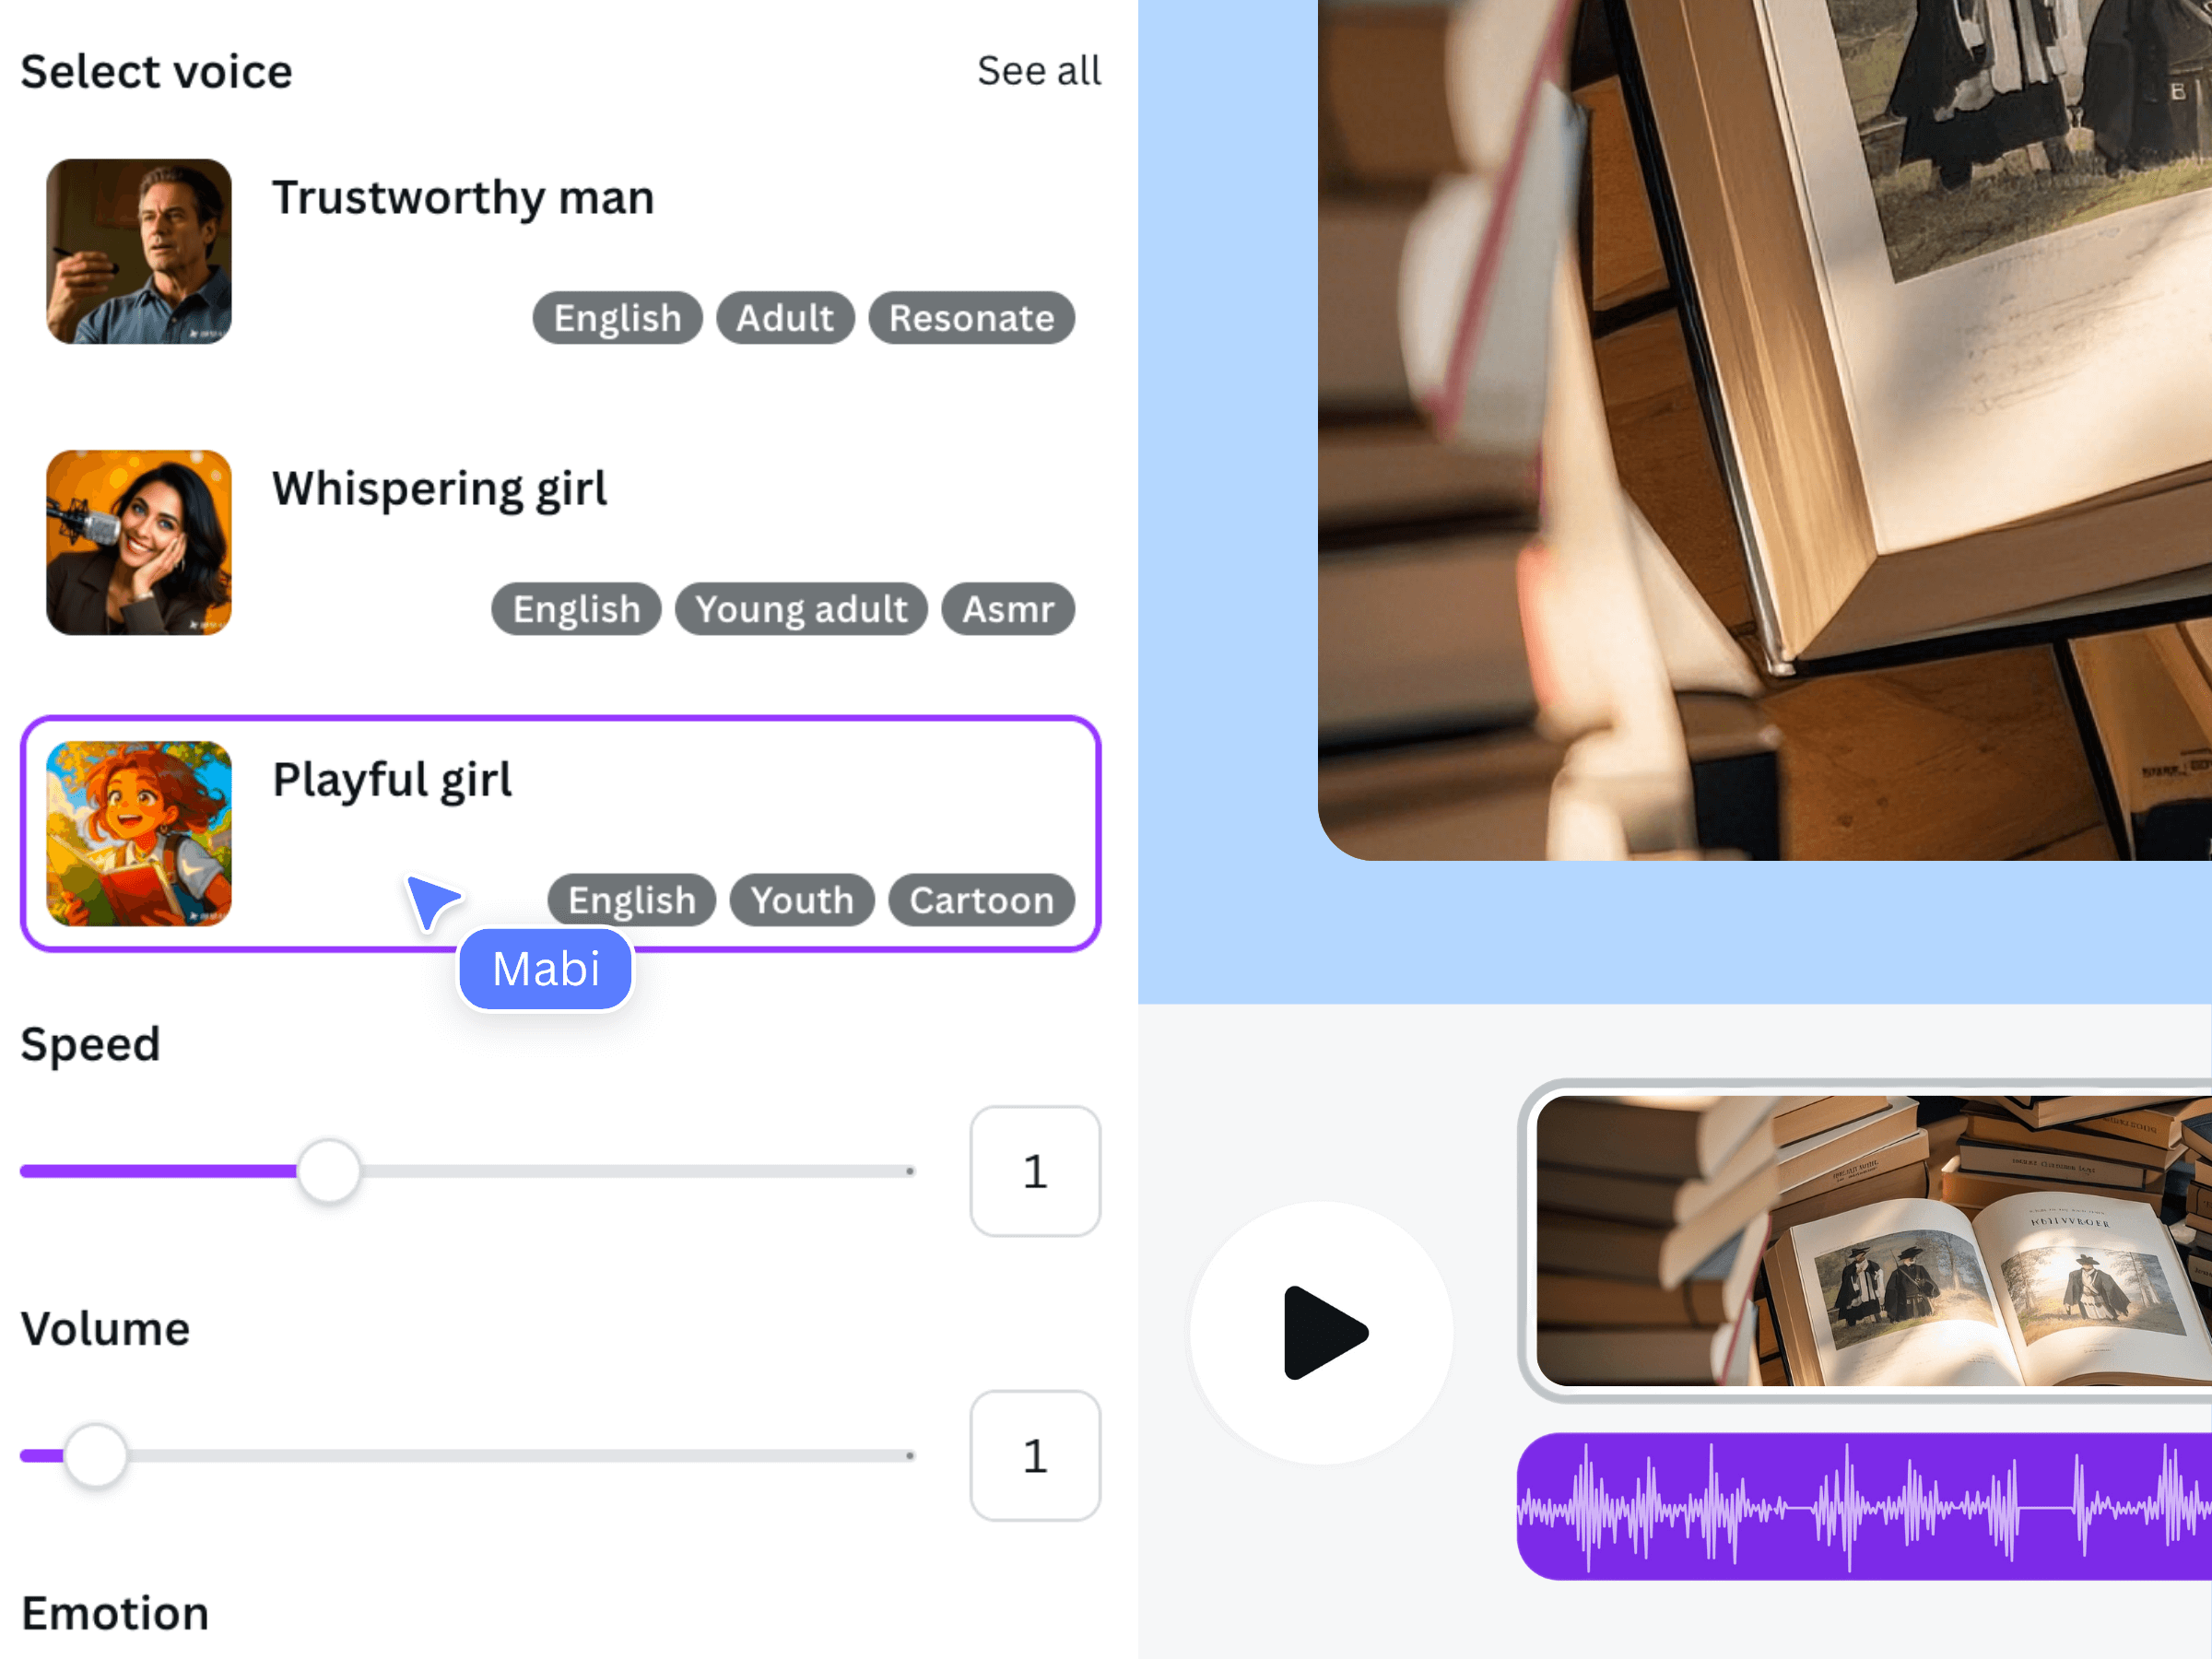
The official illustration shows the app's voice and delivery controls. Use the current settings available for your selected voice; the illustration is not a recording of this tutorial.
Assemble the video around the approved narration
Add each narration segment to Canva and place the matching screen recording, image, or diagram above it. Show the relevant action when it is mentioned, then leave enough time for the viewer to see the result. A complex step may need a quieter moment after the explanation.
Check the end of each section together with the start of the next. Abrupt tone changes, repeated introductions, or long gaps can make a segmented narration sound disconnected. A short linking sentence can help when it adds meaning, but avoid repeating the same transition throughout the video.
Revise precisely and check the full export
If a folder name changes, revise the affected script section and replace that clip. Remove or mute the old audio so both versions cannot play together. Review adjacent scene timings after the replacement, especially if the new sentence is longer.
Before exporting, watch the entire video at normal speed. Check the opening promise against what the tutorial actually delivers, inspect all readable text, and listen for clipped endings. Download an MP4 through Canva, then watch the downloaded file before uploading it to YouTube. Keep the script and Canva design as your editable master.
Frequently asked questions
Should I generate a long video as one narration?
Section-sized clips are usually easier to revise and align. Choose divisions based on complete ideas and practical editing needs, and check the app's current limits before generating a long script.
Does Voice AI create my YouTube video automatically?
Voice AI creates speech from your script. This workflow still requires you to arrange the visuals, timing, and final export in Canva and handle the YouTube upload separately.
Can I change only one sentence later?
Yes, you can generate a revised passage and replace the corresponding audio. Include enough surrounding context for a natural transition and recheck the nearby timing after inserting it.
Is music necessary for a tutorial?
No. Clear narration and understandable visuals are enough. If music supports the tutorial, keep it quiet enough that the instructions remain easy to hear throughout the video.