
Add the narration first, then place music on a separate audio track in Canva and adjust its level while the voice is playing. That order makes it easier to judge whether the music supports the message or competes with it. Voice AI can create the narration inside Canva; the music mix is handled in the Canva editor.
This guide focuses on an understandable mix for a short narrated video. There is no single volume percentage that works for every track, because recordings differ in loudness, instrumentation, and how much they overlap the sound of speech.
Finish the voiceover before choosing the music
Write and review your script, then open Voice AI by imagination-soft in Canva. Choose a voice, set the speaking speed, and generate a short test. Once pronunciation and delivery work, add the approved narration to the design and position it against the visuals.
Listen without music first. Fix clipped words, overlapping narration clips, and abrupt transitions now; background music can hide these problems during editing but will not solve them. Keep the voice clear at a comfortable playback level before adding another sound source.
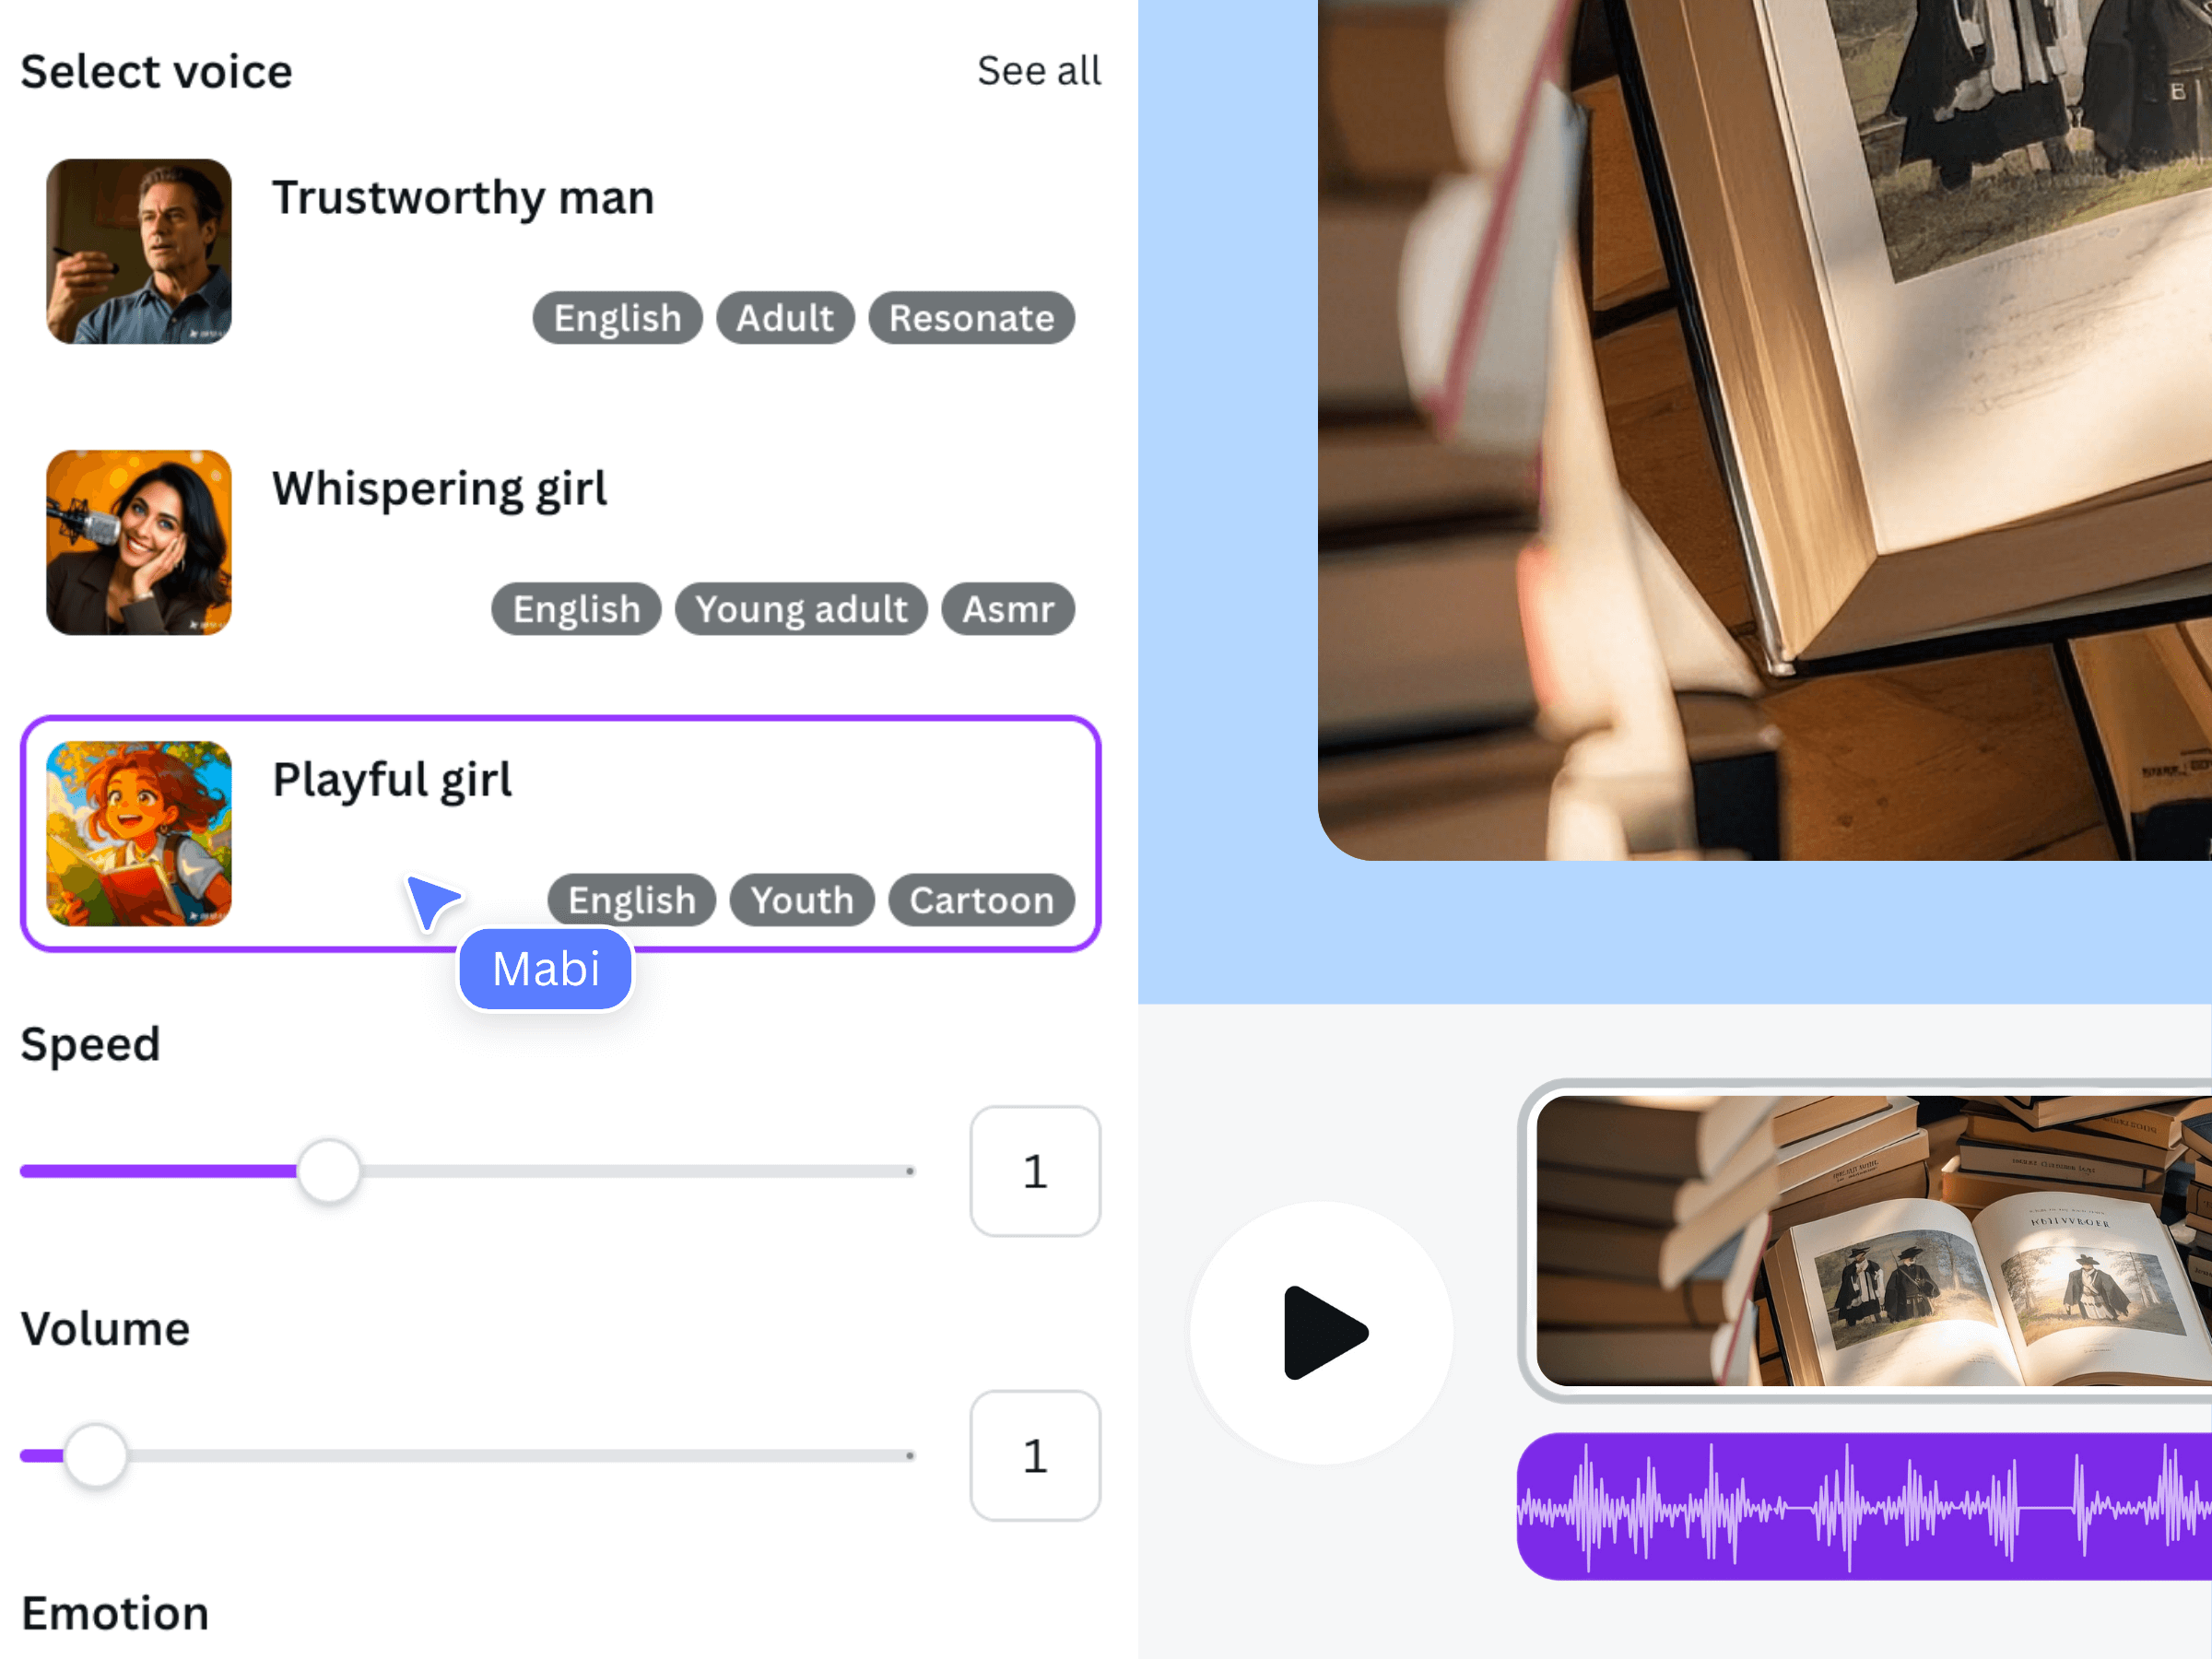
The official product illustration shows the Voice AI controls used to create narration. Background music selection and track mixing happen in Canva after the narration is added.
Choose a track that leaves space for speech
Look for music that fits the video's purpose without demanding constant attention. A dense vocal line can compete with spoken words, while a sparse instrumental passage may leave more room. Audition the section you actually intend to use, not only the track's opening.
Add music from Canva's audio library or upload a track you are entitled to use. Check the usage conditions for the chosen music and your intended destination; being able to preview a track does not by itself settle every publishing use.
For a calm product walkthrough, try a restrained section with few sudden changes. For an energetic introduction, you can choose a livelier section while still keeping the spoken hook clear. The relevant test is whether the listener can follow the message.
Balance the two tracks while they play together
Place the music on a separate track and position it under the intended part of the video. Lower the music, then play it with the narration. Adjust gradually until the voice remains easy to understand through both the quietest sentence and the busiest musical moment.
- Check short words and sentence endings; these are easy to lose under music.
- Listen to sections where the instrumentation becomes denser or louder.
- Compare the mix on headphones and ordinary phone or laptop speakers.
- Test at a moderate listening level instead of compensating by turning everything up.
If the mix still feels crowded with the music low, try a different passage or track. Increasing the voice indefinitely is not a good substitute for choosing music that leaves room for it.
Trim the music and soften the boundaries
Use Canva's audio editing controls to choose the relevant section and trim it to your video. Avoid leaving an abrupt musical start directly on top of an important first word. If fade controls are available in your editing view, use a short fade where it makes the entrance or ending feel intentional.
Listen to the final spoken sentence with the ending music. Let the sentence finish before the design ends, and avoid cutting the track halfway through a prominent musical event when a nearby ending would work better. A deliberate quiet ending can be more effective than adding more sound.
For a music-only opening followed by narration, consider separate sections with levels chosen for each purpose. Check the boundary carefully; do not assume the editor will automatically lower music whenever speech begins.
Verify the exported mix
Preview the entire design, then export an MP4 from Canva and listen to that file. Check for duplicate narration, unexpected track overlap, and a missing final word. A mix that seemed acceptable while repeatedly checking one scene may reveal problems when heard continuously.
If you are publishing on another platform, inspect the uploaded version as well. Keep an editable Canva copy so you can replace a music track or rebalance it without regenerating a narration that already works.
Frequently asked questions
What volume should the music be?
There is no reliable universal percentage. Start low and judge it against the actual narration, especially quiet words and dense musical sections. The voice should remain understandable without effort.
Does Voice AI add the background music?
In this workflow, Voice AI generates narration. Add and balance the music using Canva's audio tools after the speech is in your design.
Will Canva automatically lower the music during speech?
Do not assume automatic ducking is active. Listen to the mix and use the controls available in your editing view. This guide relies on deliberate track selection and level adjustment.
Can I use any song I find online?
No. Use music with permission or suitable licensing for your intended use, and review the applicable terms for library tracks. A public download link is not the same as authorization to publish the music in your video.