
To add AI voiceover to a TikTok video in Canva, prepare a short script, generate the narration with Voice AI, place the audio against your footage, and export the finished video. The useful starting point is the thing the viewer will see happen. A spoken tip is easier to understand when the result appears on screen as the sentence explains it.
This guide builds a small desk-organization demonstration: separating frequently used tools from occasional supplies. The example wording and shot timings are original planning suggestions, not a tested TikTok formula or a guarantee of reach. You can adapt the same method to a craft, recipe, repair, or practical product tip.
Build the opening around something the viewer can verify
Choose an opening shot that makes the problem visible without a long introduction. For the desk example, show a hand searching through a crowded tray, then the same hand finding a pen in an organized holder. The narration should describe that useful difference rather than announce that a life-changing secret is coming.
Draft two possible opening lines before touching the voice settings. Version A: “Keep the tools you reach for every day in one small spot.” Version B: “If finding a pen takes longer than writing the note, try this.” Both point toward the same demonstration, so the rest of the edit can remain stable while you decide which opening fits your audience.
Avoid making the hook longer than the solution. If your footage only demonstrates sorting a tray, do not promise a complete workspace makeover. Mark the exact shot that will fulfill the opening so you can check it during the final review.
Write a compact script with a visible action for every sentence
Use a simple cue sheet: spoken line, shot, and on-screen words. Write the action in concrete language. “Put the everyday items here” is less clear than “Keep the pen and scissors in the front holder.” Replace objects and directions with the ones that actually appear in your footage.
- Opening: “If finding a pen takes longer than writing the note, try this.” Show the cluttered tray and the search.
- Action: “Move the supplies you only use occasionally into a separate box.” Show those items leaving the tray.
- Proof: “Keep the pen and scissors in the front holder.” Show the two objects going into the holder.
- Ending: “Now the next note starts with a pen, not a search.” Show a hand taking the pen and writing.
Record a rough read aloud before generating. If the words feel crowded, remove an extra example or adjective. A shorter script usually gives the action room to register. Any suggested duration is a starting budget; the approved audio and footage determine the finished length.
Generate a voice that fits the demonstration
Inside the Canva design, open Voice AI by imagination-soft. Enter the script, select a suitable voice, and generate a short sample. Listen for a clear opening and intelligible object names. Keep a comfortable speaking speed; rushing every sentence can make an otherwise simple tip harder to follow.
For this example, a direct conversational delivery fits better than an exaggerated sales read. Test the line about the pen and scissors because it contains the objects the viewer must recognize. Once you approve the sample, use consistent settings for the rest of the narration and retain the exact script version.
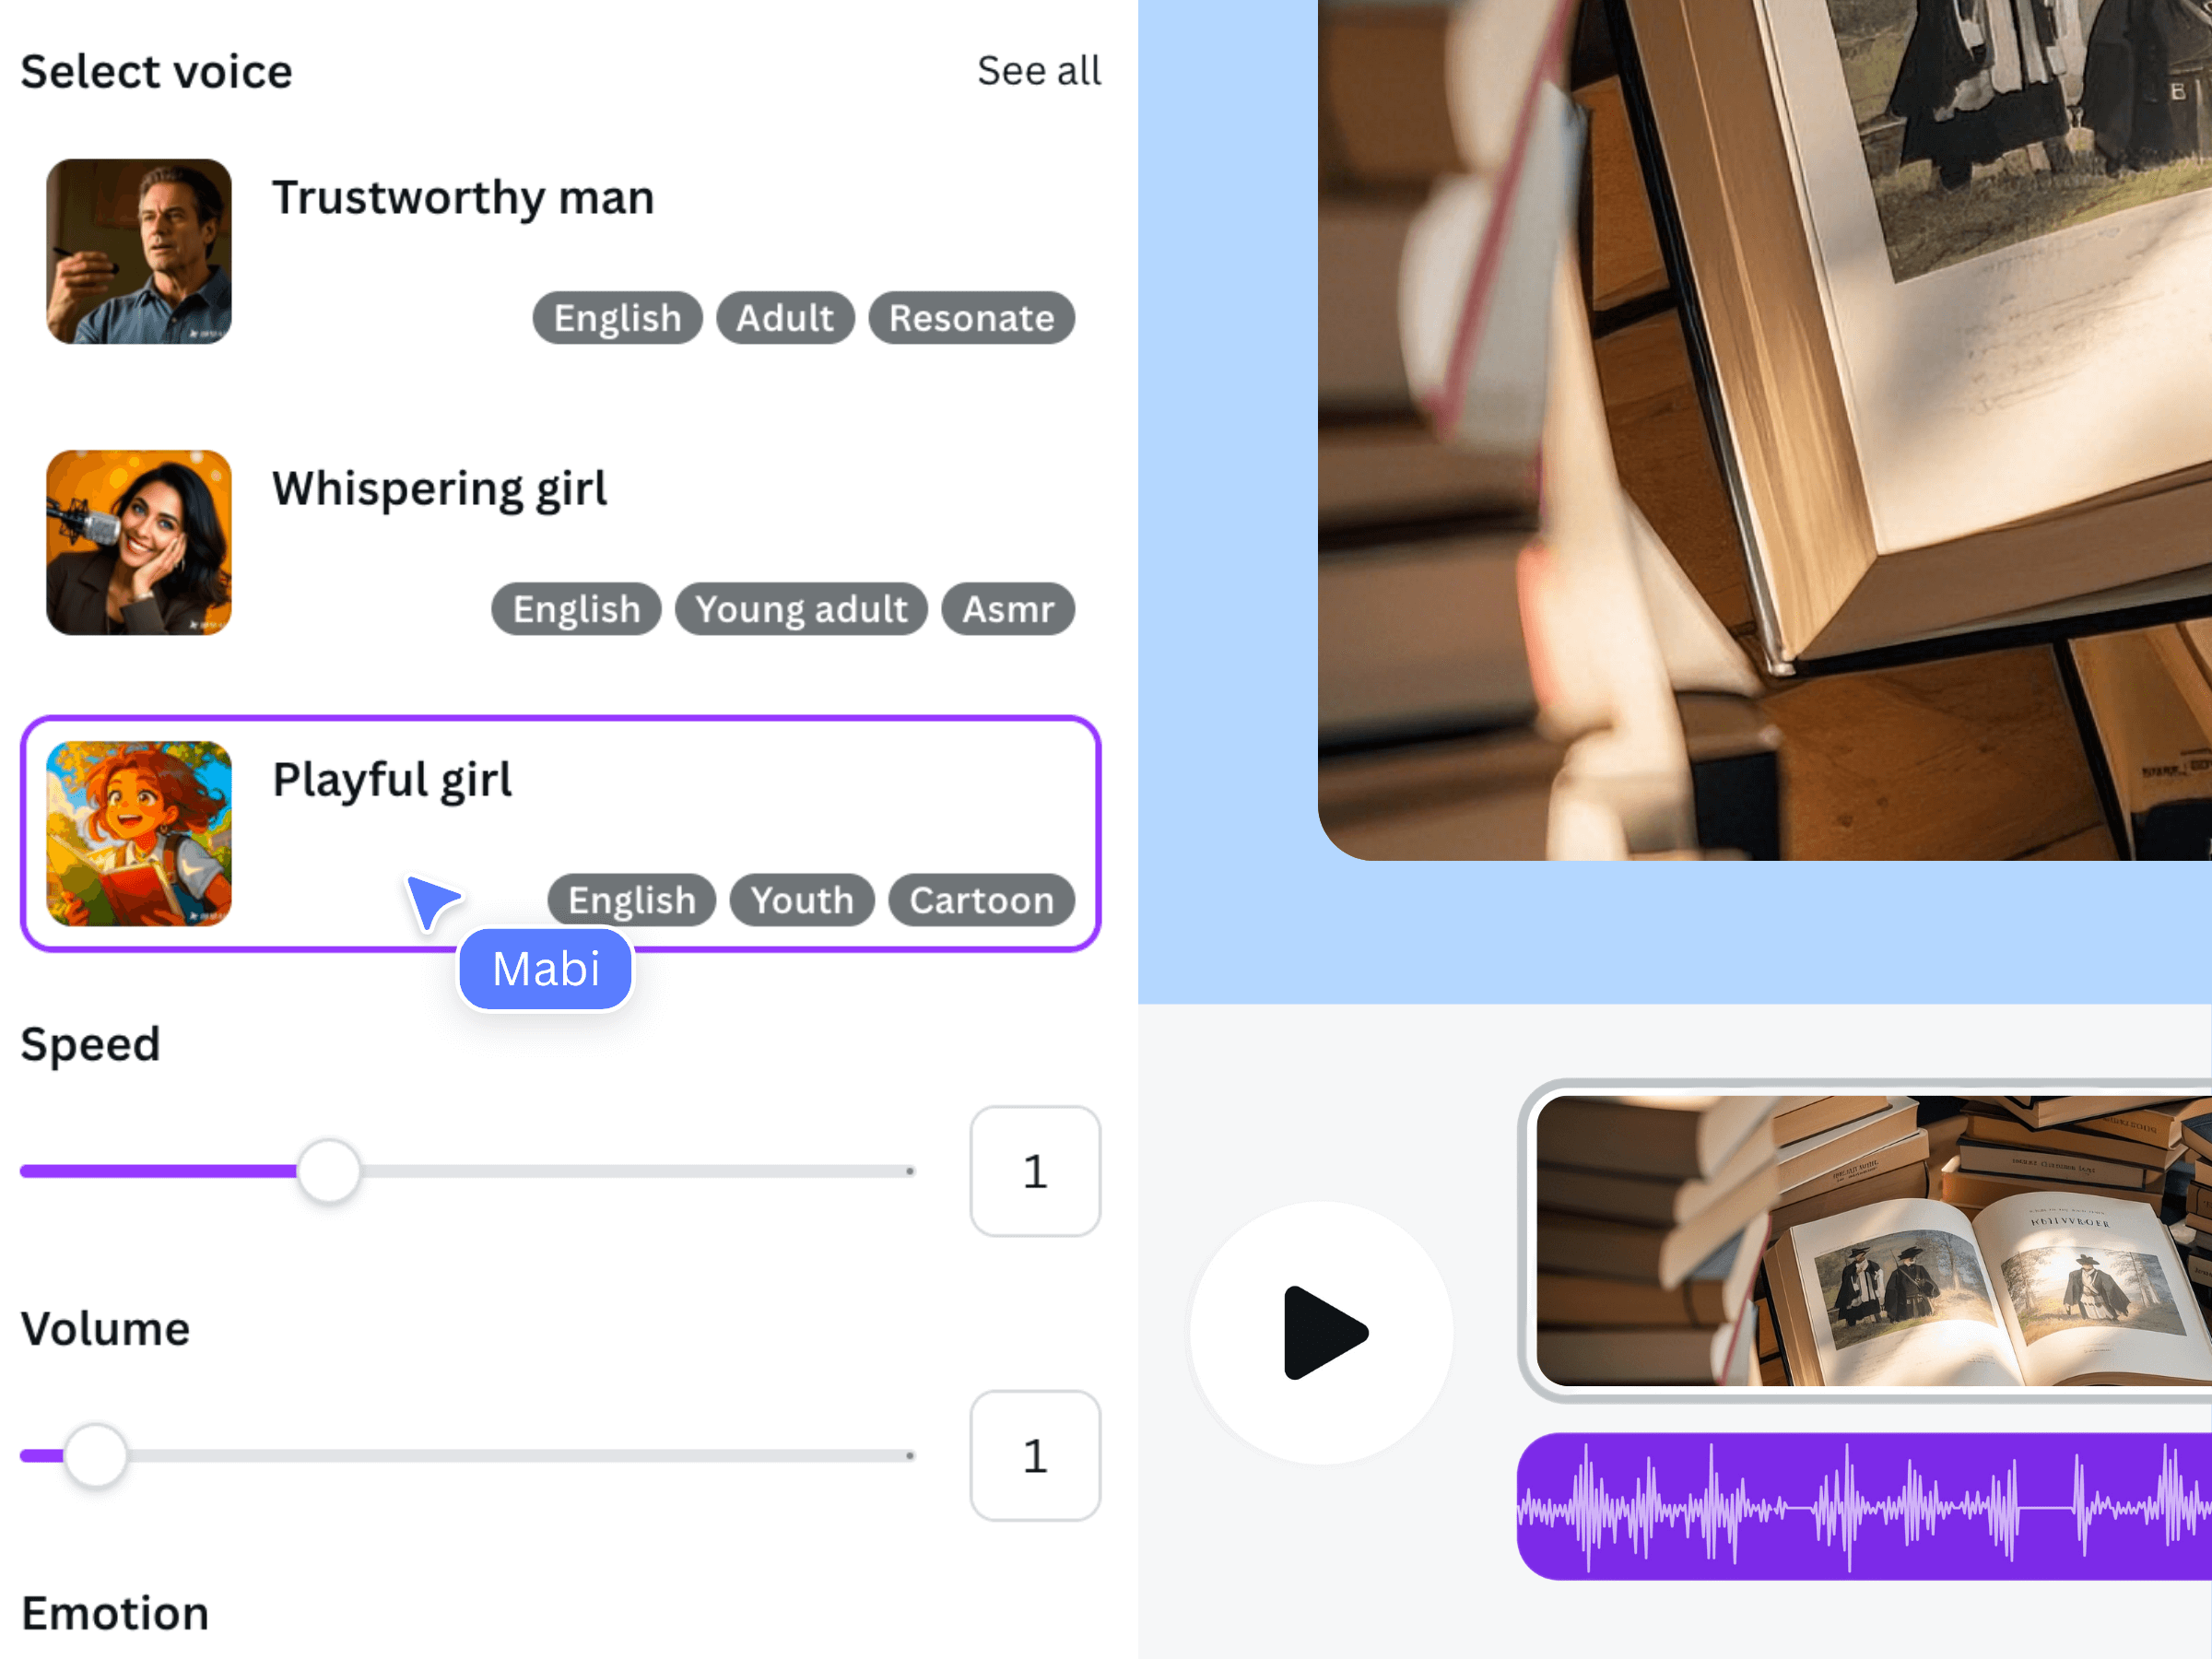
The official illustration shows the app’s voice controls in an earlier interface. It is not a screenshot of this desk example. Use the settings currently available to your selected voice and judge the actual generated audio rather than a promotional label.
Edit the vertical story around the spoken beats
Place the narration in Canva and arrange the four shots against its sentences. Treat an initial 20–30 second working budget as an editorial choice, not a TikTok requirement. Let the search establish the problem, give the sorting action enough screen time, and hold the final written note until the last word has finished.
Keep important objects and text away from the outer edges, then inspect the upload preview for interface overlap. Short text cues such as “Occasional supplies” and “Everyday tools” can identify the two groups without duplicating every spoken word. If you add full captions, proofread them against the final audio rather than the first script draft.
Trim unwanted silence and lower competing source audio as needed. If moving a shot breaks the relationship between an instruction and its action, fix the shot timing deliberately. The voice generation workflow does not automatically understand which object the narrator is describing.
Review the export before handing it to TikTok
Watch the downloaded MP4 once with sound and once muted. With sound, check that the opening line starts cleanly and no word is cut off at the end. Muted, the essential problem and result should still be recognizable. Listen on a phone speaker as well as headphones because dense background audio can hide quiet consonants.
- The first spoken claim has matching visual evidence, not an unrelated title card.
- The viewer sees each object before or while it is named.
- Captions and short labels match the approved script and remain readable.
- Only one intended narration version is audible; source audio does not compete.
- The final frame remains visible through the completed thought.
Upload the reviewed file to TikTok separately, inspect its preview, and apply the platform settings appropriate to the actual content. Keep the original Canva design, script, and hook alternatives. Those editable files make a precise revision easier than rebuilding from a compressed upload.
Frequently asked questions
Is this TikTok’s own text-to-speech voice?
No. This workflow uses Voice AI inside Canva, then exports a video for TikTok. TikTok’s native editing and speech tools are separate. Choose the workflow that gives you the editing control your project needs.
How long should the TikTok narration be?
Long enough to explain the demonstrated tip without hiding its result. Use the script and footage to set the length, then check TikTok’s current upload requirements. The example working budget is not a platform limit.
Can I replace only the opening sentence?
Yes. Generate the revised opening, replace that passage in the Canva design, and review the join with the next line. Remove the old narration and confirm that the new audio still fits the opening shot.
Will an AI voiceover make the video perform better?
There is no guaranteed result. Clear speech can help explain an action, but usefulness, visual evidence, audience relevance, and the finished edit still matter. Evaluate your own published videos rather than treating a voice choice as a growth promise.