
Sync narration by matching spoken ideas to visible actions: generate the voiceover, place it on Canva's timeline, and adjust each scene around the words that matter. Start with a rough sequence, then refine the cut points by listening. Matching the total video length is only the first check; individual instructions also need to arrive at the right moment.
This guide uses a three-step photo tutorial as an example. Voice AI creates the narration in Canva, while you control clip placement and visual timing. It does not assume automatic alignment between the meaning of a sentence and the correct video frame.
Build a map of phrases and visual actions
Before adjusting the timeline, write down the main phrase for each scene and what should be visible when it is spoken. This is a simple cue sheet, not a word-by-word transcription. It helps you distinguish important alignment points from moments that can remain flexible.
For an original photo tutorial, use these cues:
- “Choose the photo you want to use”: show the photo selection step.
- “Crop the edges so the subject is easy to see”: show the crop adjustment and its result.
- “Preview the design before you export it”: show the finished design and the review step.
Record your actual screen or use accurate product visuals for those actions. Do not show a different feature just because it happens to fit the available duration. If the visuals and narration disagree, revise one of them before doing detailed timing work.
Generate complete narration segments
Open Voice AI by imagination-soft in Canva and generate the reviewed script with a suitable voice and speaking speed. Listen for pronunciation and clarity before you align the visuals. Changing the audio later can move every cue you have already placed.
For a short sequence, one clip may be convenient. For a longer tutorial, separate segments at complete ideas make it easier to revise or leave a pause. Keep the voice and delivery consistent so the sections sound like one coherent explanation.
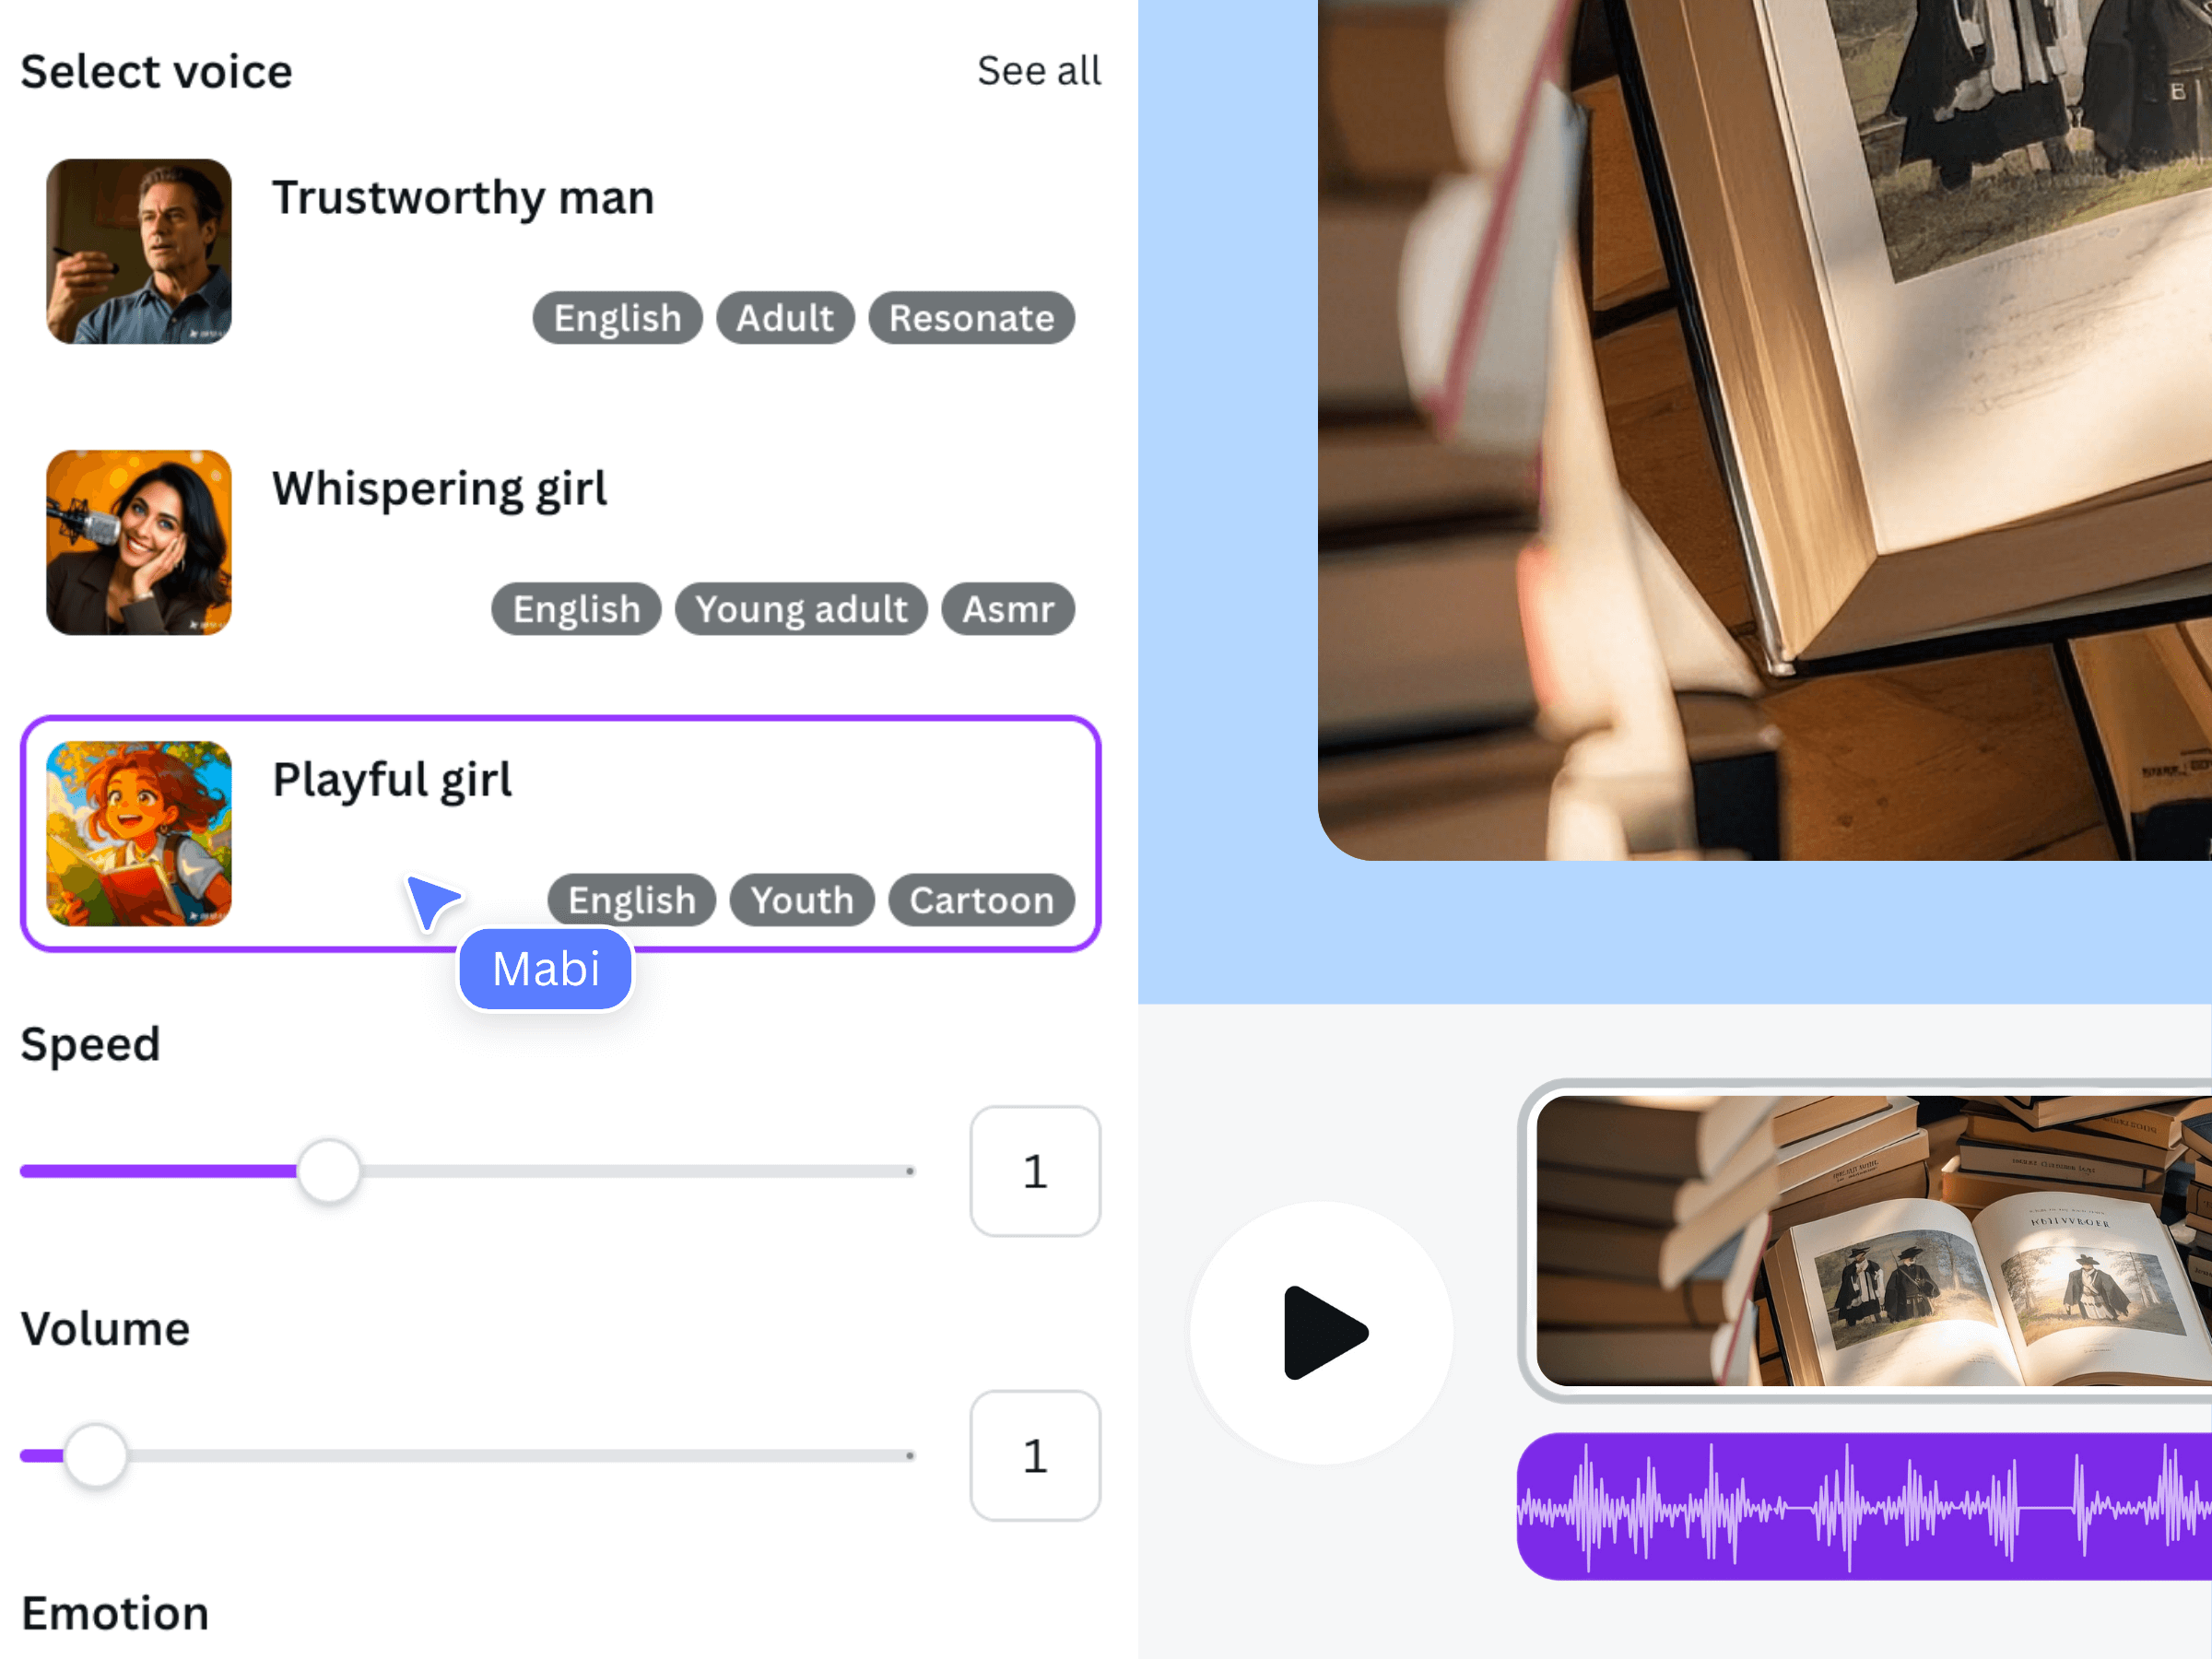
The official Voice AI illustration shows narration controls alongside a Canva design. It demonstrates the product workflow, not automatic timing of the example tutorial.
Position the first clip and align the important words
Add the narration to Canva's timeline and place its start where the explanation should begin. Play from slightly before the first cue, then stop and adjust the matching visual. The action should be available when the viewer needs it, rather than appearing only after the instruction has finished.
Repeat for the remaining cues. Use the timeline's zoom and playback controls to make close adjustments. Audio waveforms can help locate sound boundaries, but listening tells you which word or phrase corresponds to the action.
Avoid making every cut coincide with a syllable. A scene can begin slightly before its explanation when that gives the viewer useful context. The aim is an understandable sequence, not mechanically identical boundaries for every sentence.
Fix early cuts, long explanations, and empty gaps
If the narration continues after the relevant scene ends, extend the scene or replace unnecessary wording with a shorter sentence. If a demonstration cannot be extended naturally, show another useful view of the same result instead of unrelated filler.
If the scene continues long after the voice finishes, decide whether the viewer needs that time. A diagram or practice step may deserve a pause; an empty transition may simply need trimming. Give pauses a purpose so the pacing feels intentional.
When one sentence is badly timed, regenerate that section with a clearer script or adjusted speed. Remove or mute the superseded clip, then check that the new length has not caused an overlap with the next narration.
Review transitions and the downloaded file
Play across each edit rather than checking the clips only in isolation. Listen for truncated consonants, accidental silence, duplicate audio, and a voice that starts describing the next step too soon. Check any on-screen labels or captions against the final narration.
Finally, export the design as an MP4 and inspect the file from start to finish. Pay particular attention to the first instruction and last word, which are easy to cut too closely. Keep your cue sheet and approved script with the editable design for later revisions.
Frequently asked questions
Can Beat Sync align narration to the correct actions?
Beat-based synchronization is different from matching an instruction's meaning to a visual step. For narration, use spoken cues and review the alignment yourself; do not assume a music-oriented sync tool understands the script.
Should the video or voiceover come first?
Start with a rough visual plan, then approve the narration before detailed timing. For an existing recording that cannot change, write the script around the actions and durations you actually have.
Why does the whole video fit but individual scenes feel wrong?
Equal total duration does not guarantee local alignment. A long opening sentence can shift every later cue. Check important phrases one by one and adjust the matching scenes.
What should I do after replacing a narration clip?
Check its start, end, and the next segment together. Confirm that the old clip is no longer audible and that changed duration has not created overlap or an unintended gap.