
A useful Reel voiceover tells the viewer what to notice while the picture shows it. To add one in Canva, prepare a short script, generate speech with the Voice AI app, and arrange the visuals around the finished narration. Start with one message, not a compressed version of an entire blog post.
Below, we build a simple desk-reset Reel: show a cluttered workspace, demonstrate three changes, and end with one action. The example gives you a script and editing decisions to adapt, without relying on a particular Instagram duration limit or an automatic publishing feature.
Choose one result for the Reel
Write down the change you want the viewer to make. For our example, it is “clear enough desk space to start the next task.” That is more specific than “be productive,” and it tells you which clips belong in the video.
Use a vertical Canva video design suitable for Reels. Collect your own before-and-after footage and close-ups of the three actions. If you use a template, replace its media and text before fine-tuning the timing; the template's pace may not fit your narration.
- Opening visual: the clutter that creates the problem.
- Action visuals: remove one distraction, group loose items, and clear the work area.
- Closing visual: the usable desk and a short next-step message.
Write the hook and demonstration as spoken sentences
Here is an original script for that sequence. It is deliberately short, but its final duration will depend on the voice, speed, and pauses you choose. Generate and listen before deciding the exact scene lengths.
Opening
“Too much on your desk? Make room for the next thing you need to do.”
Demonstration
“Put away what you are not using. Gather loose items in one place. Then clear a space for your notebook or keyboard.”
Closing
“You do not need a perfect setup. Start with one clear spot, and use it for your next task.”
Keep the hook understandable on its own. Avoid an opening that promises a result the footage never shows. If the action is already obvious, use the voice to explain why it helps instead of describing every hand movement.
Create the narration in Voice AI
Open Voice AI by imagination-soft inside your Canva design. Paste the script, choose a voice, and preview its sound. Try the hook first: an energetic delivery may suit a quick demonstration, but the instructions still need to be easy to understand.
Adjust speaking speed before generation if needed. Where the selected voice offers emotion controls, compare a restrained option with the default. Generate the narration and listen to the actual words, especially the transitions between the three actions. Add the result to your design.
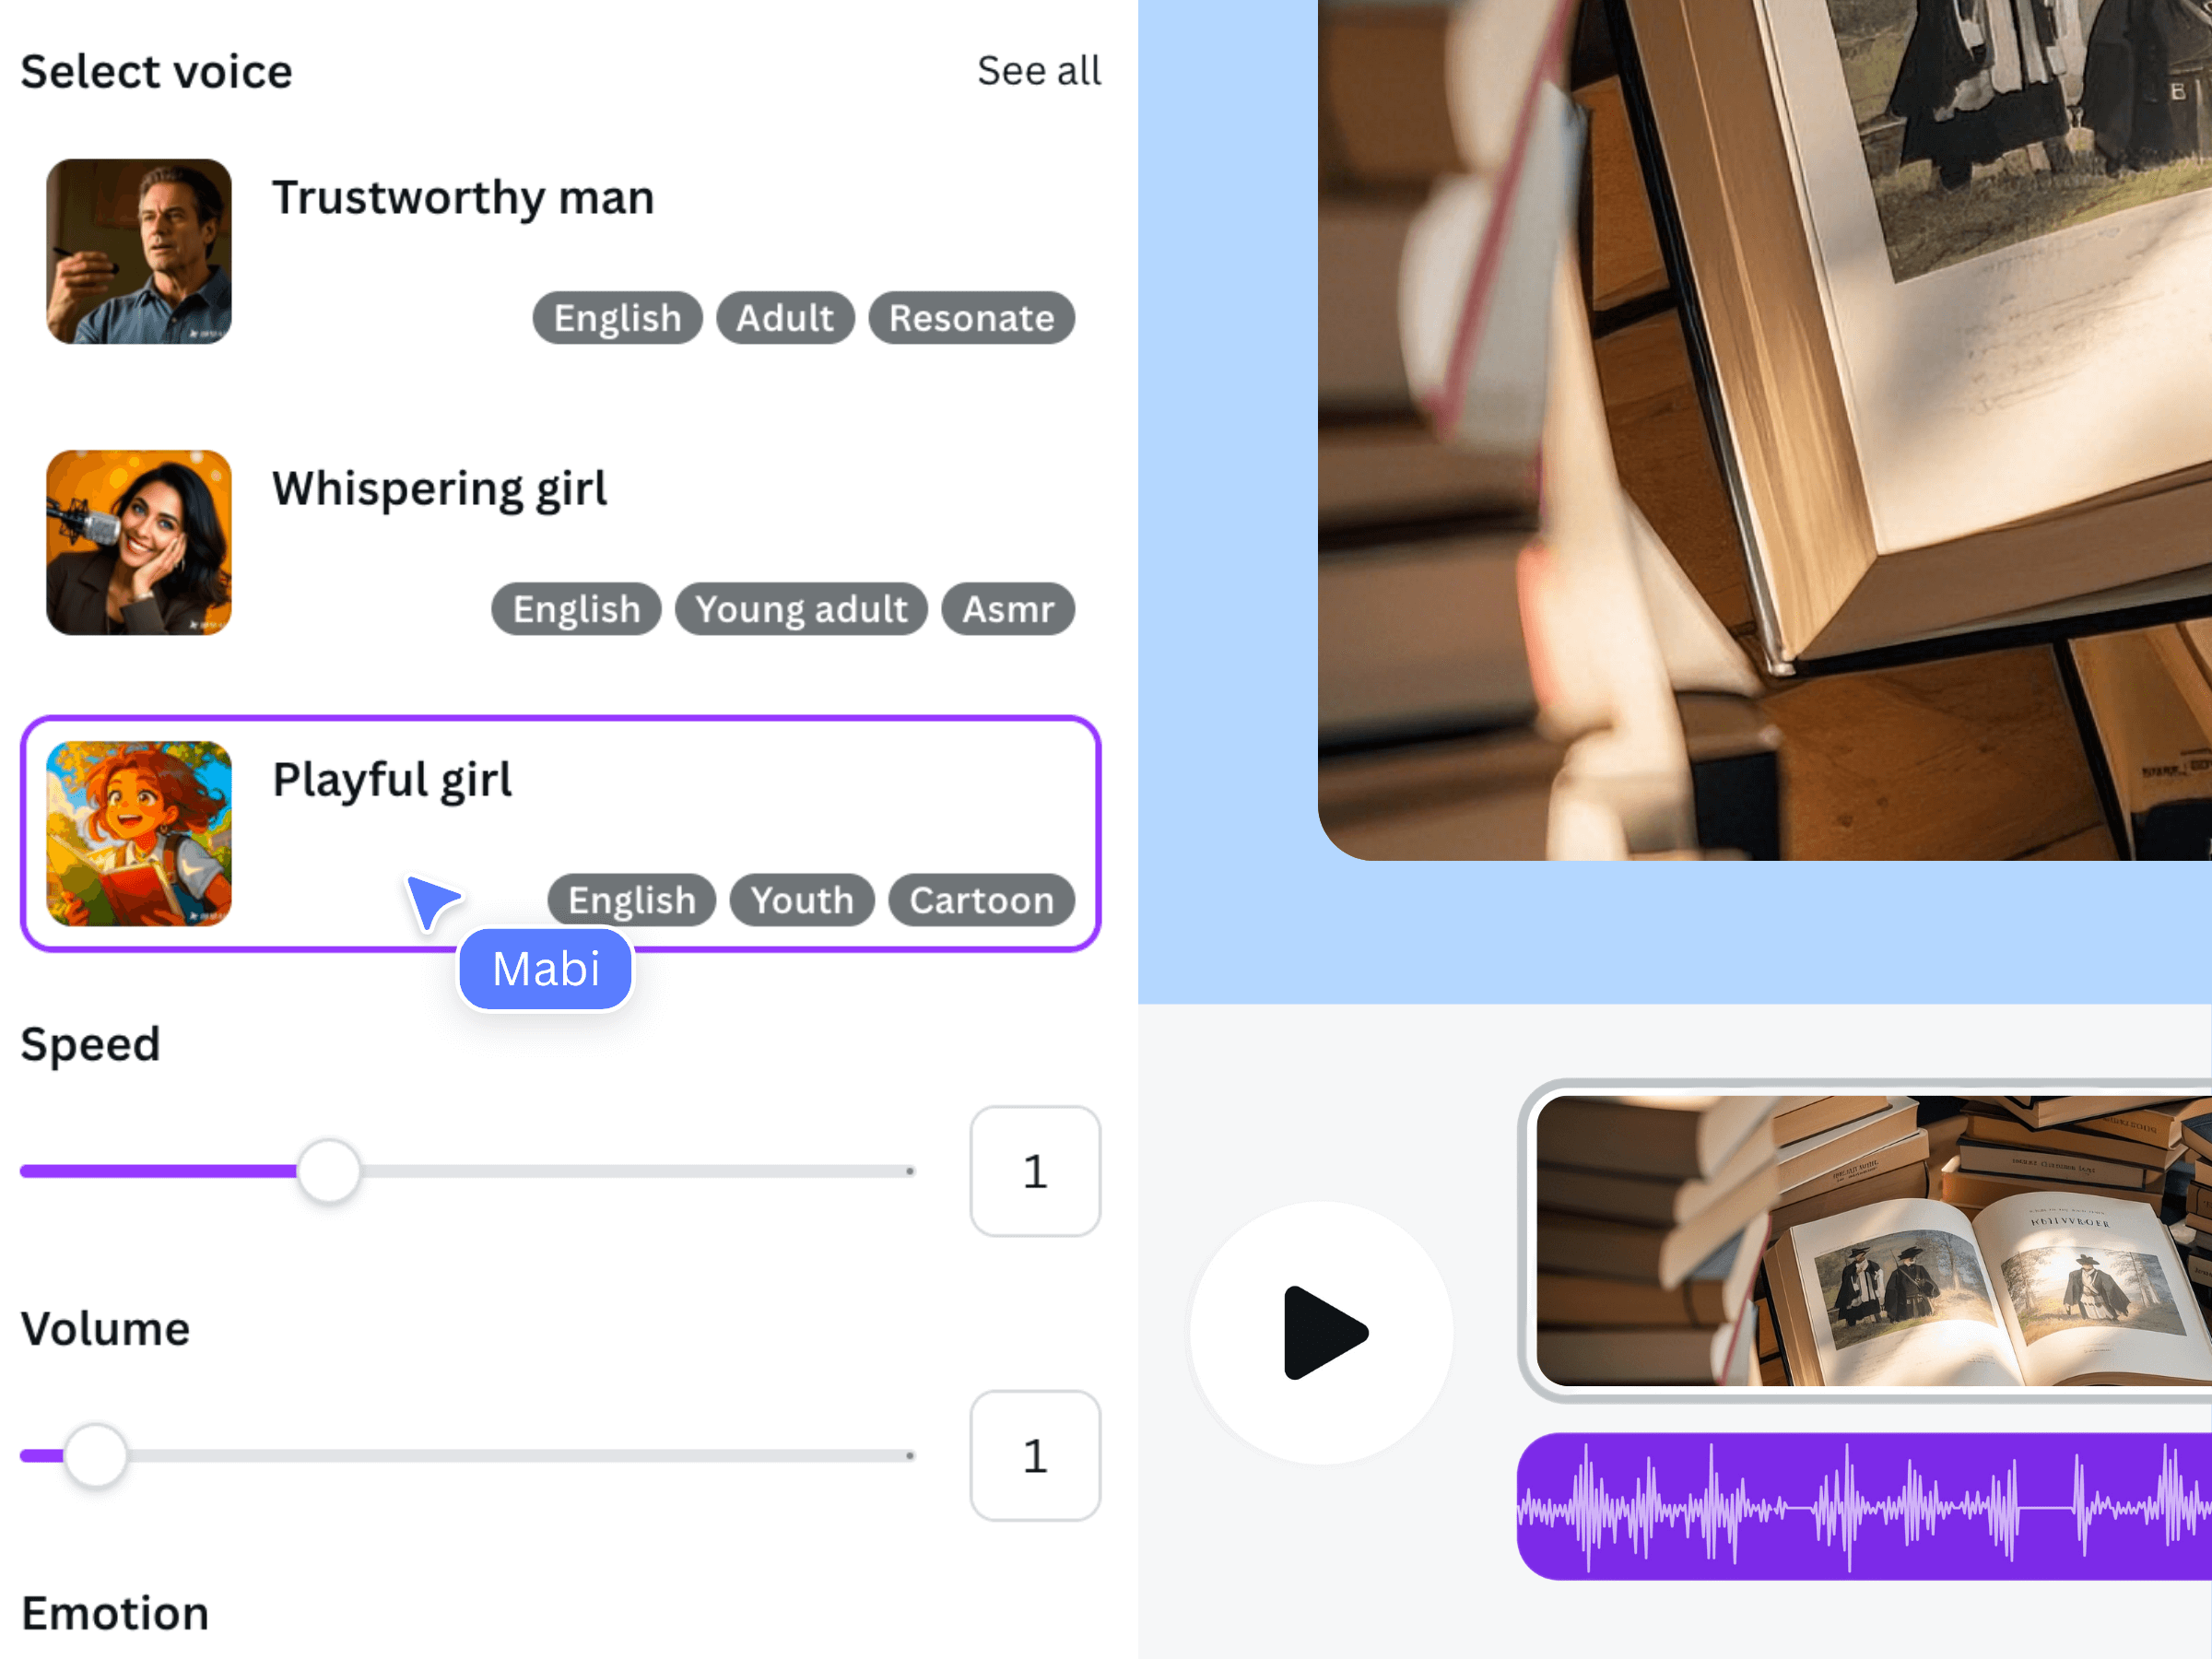
This official Voice AI illustration shows voice selection and delivery settings. It is a product reference, not a screenshot of the desk-reset example.
Cut the visuals around meaning
Listen for the words “put away,” “gather,” and “clear.” Use those phrases as editing cues, bringing the corresponding action on screen as the voice introduces it. A cut is useful when the idea changes; it does not need to happen on every word.
Trim or extend scenes in Canva's timeline so each action remains visible long enough to understand. If a short clip runs out too early, use another relevant view or shorten the sentence. Avoid stretching the story with unrelated footage just to cover the voiceover.
Place concise on-screen text where it remains readable in the vertical frame. Preview on a phone-sized display and keep important labels away from busy edges where app controls may appear. If you add captions, check their wording and timing against the generated speech.
Check the mix and the exported Reel
Music is optional. If you use it, add it after the narration is clear and lower it until quiet words remain understandable. Check the opening as well as the loudest part of the music; one good moment does not guarantee the whole mix works.
Export the completed design as an MP4 through Canva. Watch that file before uploading it to Instagram. Check that the first image supports the hook, the final sentence is complete, and the video still makes sense with the sound off through its visuals and text.
Frequently asked questions
How long should my Reel script be?
Long enough to deliver one useful idea, with room to show it. There is no universal word count that produces an exact runtime. Generate a short draft, measure the actual audio, then remove unnecessary lines or adjust the visual sequence.
Should I make the voice speak faster to fit more information?
Only if it stays clear. Cutting a repeated idea is often better than accelerating every sentence. Give the viewer time to watch the action as well as hear it.
Does Voice AI publish the Reel to Instagram?
This guide uses Voice AI to create narration within Canva. Publishing the finished video is a separate step; use the export and posting workflow available to your accounts.
Can I use the same narration on several Reels?
For a recurring introduction, consistency can help. Check that each video's words still match its footage, and review any applicable usage terms before distributing the audio.