
To add AI voiceover to a product demo in Canva, record one real workflow, write a short script that explains the decisions, generate narration with Voice AI, and align the audio with the relevant screen actions. The narration should help viewers understand the demonstration rather than describe every cursor movement.
This guide uses an invented project-management example: assigning a task and checking its due date. The sample script and timing plan are original editorial examples, not a test of an actual product or a measured Voice AI result.
Choose a customer task and gather visible proof
Start with one question a customer asks before trying your product. “How do I assign an owner?” is easier to demonstrate than “What can our workspace do?” Define the starting screen, the action the viewer will take, and the result that confirms success. A short task is also easier to update when the interface changes.
Capture the current product using a demonstration account with sample information. Close unrelated tabs, hide private messages, and keep the important controls readable. Use your own product recording or approved assets. A polished stock clip can establish context, but it cannot prove that a feature works.
- Starting state: a task exists without an owner.
- Action: choose the owner from the actual assignment control.
- Proof: the owner appears on the task and the due date remains visible.
- Next step: invite the viewer to try this specific task.
Make a small claim-to-screen checklist before editing. If a sentence says the tool sends a reminder, include the actual reminder behavior or remove that sentence. Narration must not turn an intended feature, a mockup, or a future release into a present-tense product promise.
Write a script that explains decisions, not clicks
Use the voice to explain why an action matters while the screen shows where it happens. Replace “click here, then click there” with the name of the control and the reason for using it. Keep the vocabulary consistent with the labels visible in the recording.
Sample narration: “Give each task one clear owner. Open the task, choose an owner, and check the due date before you close it. The owner is now visible beside the task, so your team can see who is responsible for the next step.”
- Opening shot: show the unassigned task while introducing the problem.
- Demonstration shot: keep the assignment control visible during the instruction.
- Confirmation shot: hold on the updated owner and due date.
- Closing shot: show a specific next action without covering the result.
Read the script aloud before generating audio. Mark product names, numbers, and abbreviations that need careful listening. Treat any target length as a planning estimate; the generated clip is the timing reference. If the message feels rushed, remove secondary benefits instead of making every sentence faster.
Generate narration with Voice AI inside Canva
Open a Canva video design and find Voice AI in Apps. Add a short section of approved script, choose an available voice, generate a sample, and listen before adding the narration to the design. Use the speaking-speed controls available in the app when the delivery needs adjustment.
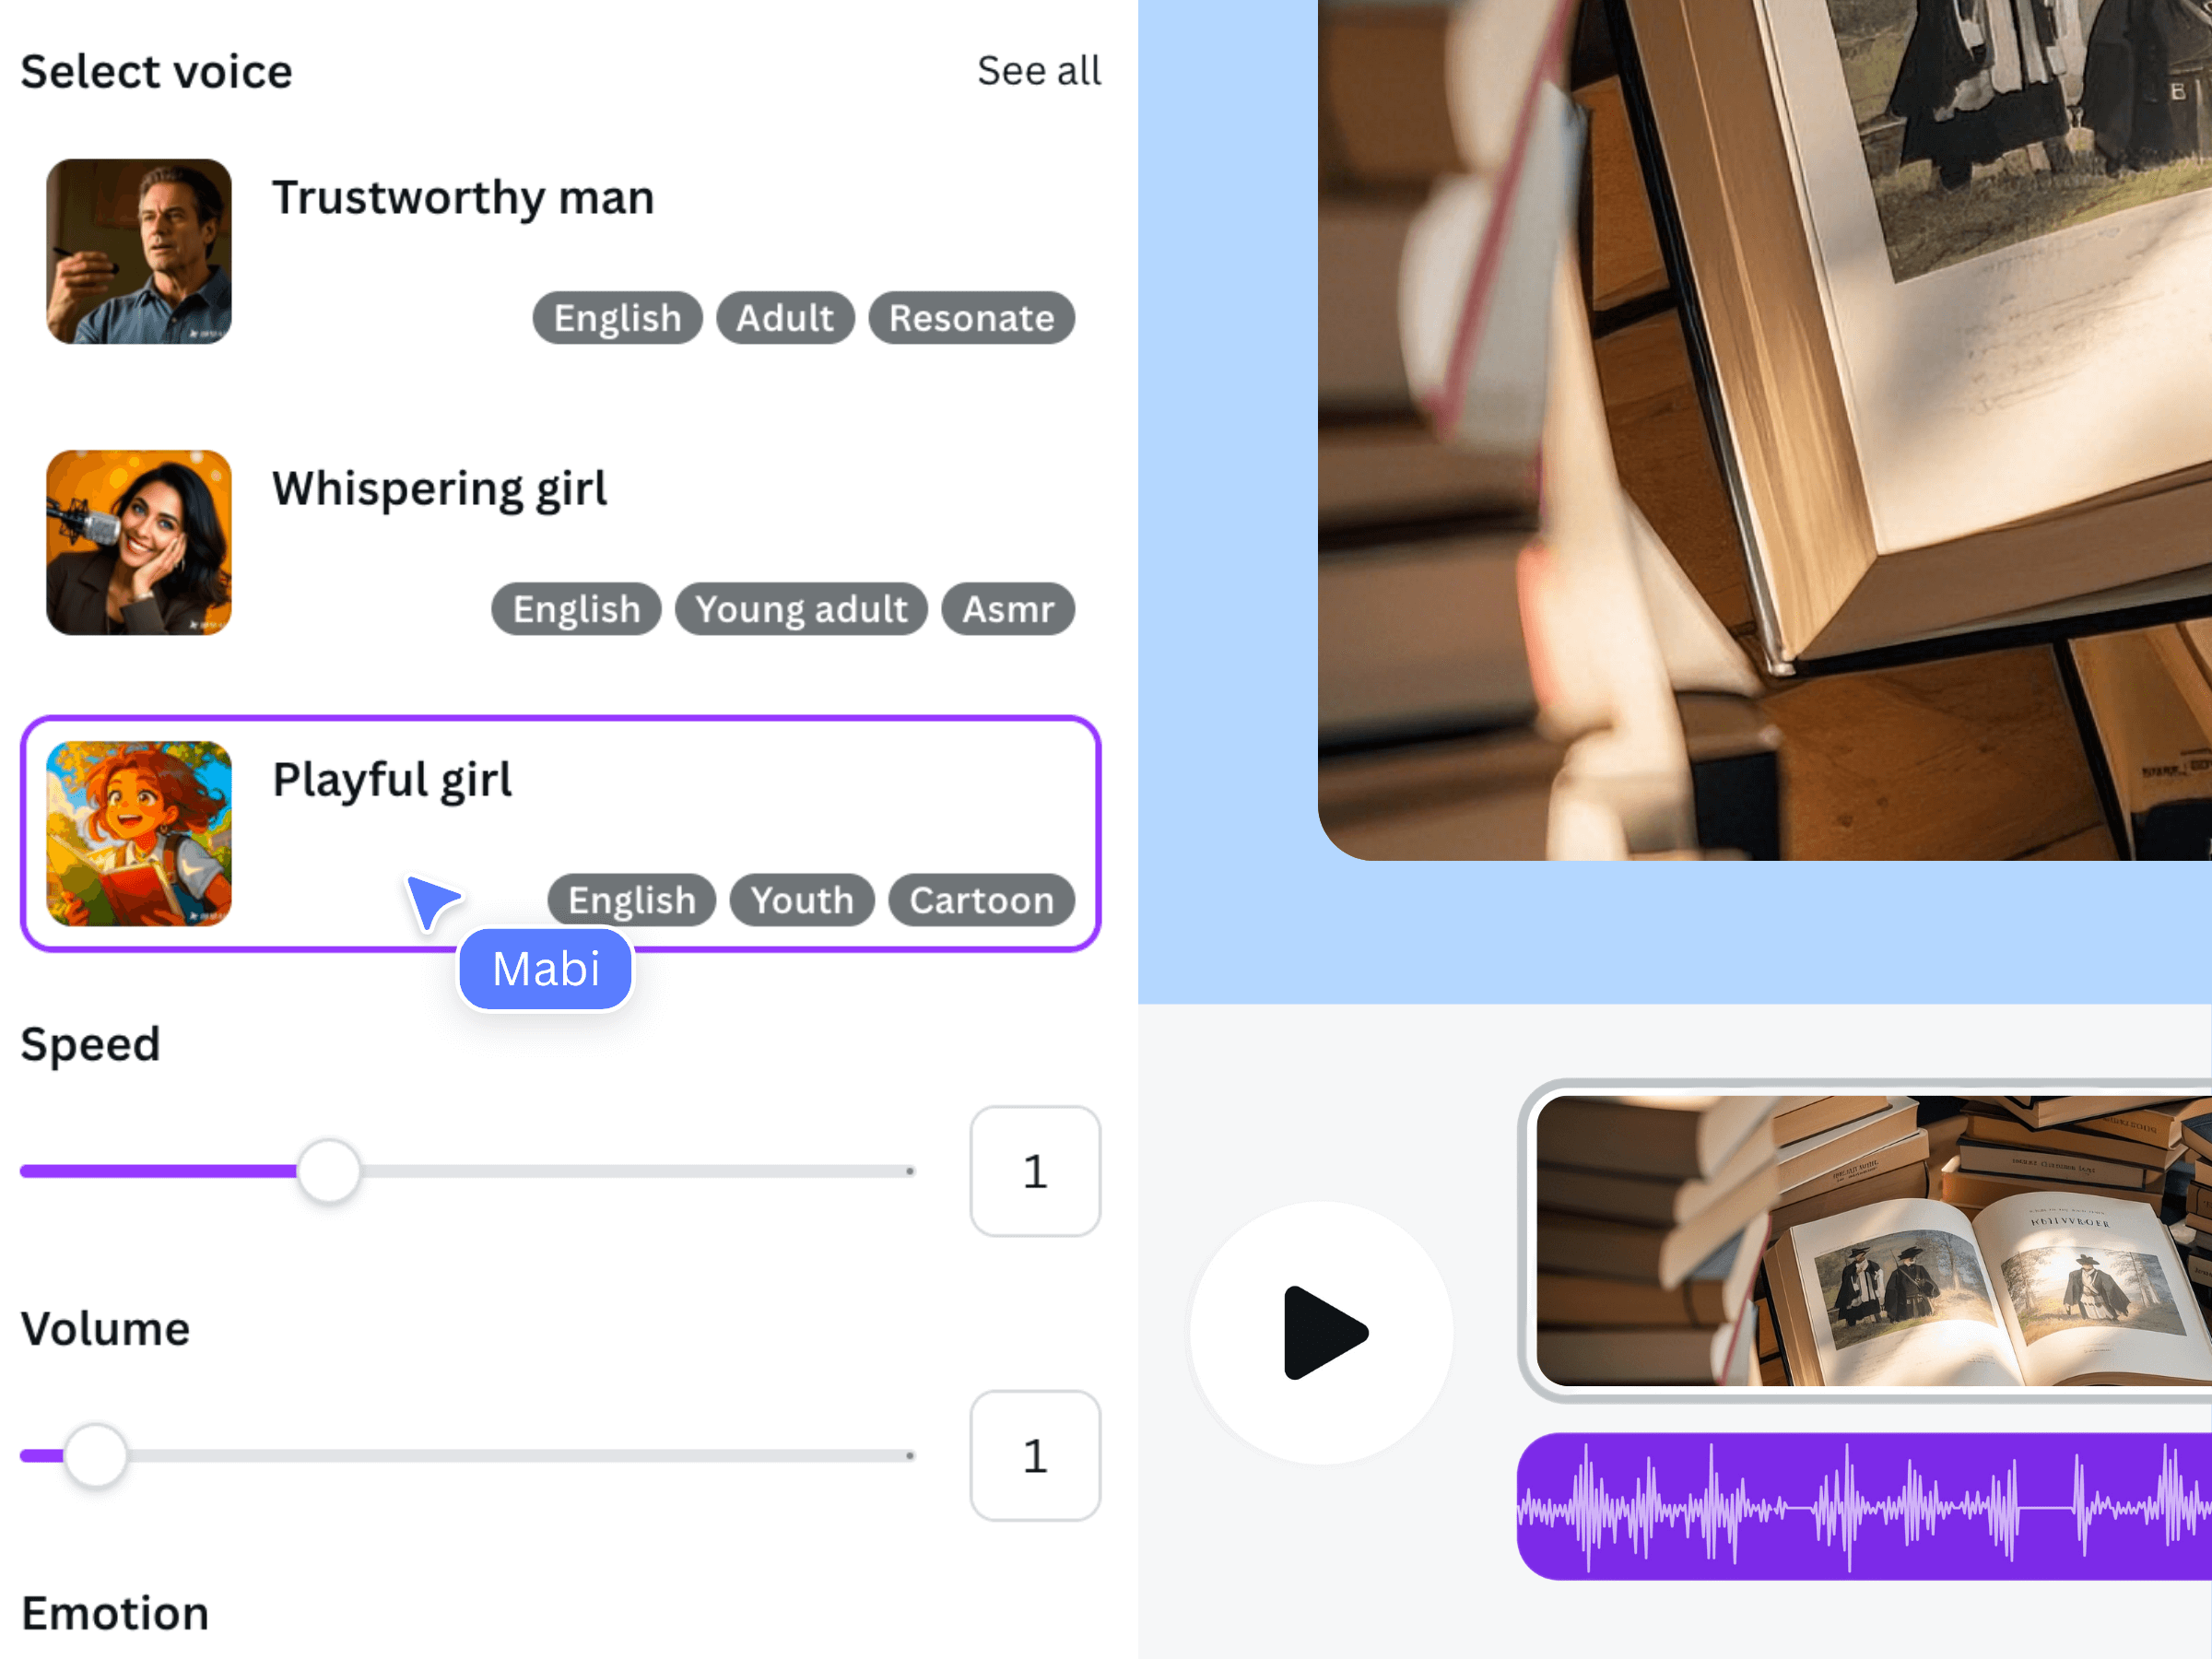
The official illustration shows the general Voice AI workflow in an earlier interface. It is not a screenshot of the project-management example. Record your own product actions separately so the final demonstration remains faithful to the product you are explaining.
Generate the introduction, demonstration, and closing as separate clips when you expect to revise them independently. Keep a small production note with the chosen voice, script revision, and generation settings. These notes help the next editor reproduce the delivery without implying that every future generation will sound identical.
Align the product footage with the spoken explanation
Place the narration on the timeline and preview each action against its sentence. Move or trim the footage so the named control appears when the listener needs it. Canva supports separate audio tracks and timeline edits; these editing controls do not automatically understand the meaning of your script.
Keep a brief visual hold after the result. A viewer who is seeing the product for the first time needs time to identify what changed. Avoid a transition that immediately hides the new owner or a zoom that makes the surrounding context impossible to recognize.
- If the action ends before the sentence, hold on the real result or shorten the sentence.
- If the cursor is still moving after the explanation ends, remove unnecessary navigation or split the instruction.
- If a label changed, update both the screen recording and the spoken wording.
- If background music masks a control name, lower the music before altering the voice.
Do not freeze a loading state and narrate a successful outcome over it. If a step depends on data or permissions, show the conditions clearly. A useful demo lets viewers predict what they will see in their own account.
Review the exported demo as a new customer
Watch the exported video from the beginning in a normal player. Check the first sentence, the final instruction, screen readability, and whether the voice is still understandable on a small speaker. Review the product names against the approved script, not from memory.
- Can a new viewer identify the task without prior sales context?
- Does each stated feature have matching evidence on screen?
- Are the spoken control names still current?
- Is the ending long enough to read the next step?
- Can the project be updated without regenerating unrelated sections?
Keep the original footage and narration script alongside the editable Canva design. When the product changes, check the affected claim, screen, and voice clip together. Replacing only the screenshot can leave an otherwise polished demo explaining a control that no longer exists.
Frequently asked questions
Should I record the screen before generating the voiceover?
Capture a rough version first so the script follows a workflow that actually works. Finalize the wording, generate the narration, and refine the footage around it. If the task changes, revise the script and recording together.
Can Voice AI create the product demonstration for me?
Use it for the narration in this workflow. You still need genuine product footage, an accurate script, and manual review of the relationship between spoken claims and visible actions. The official demo embedded here is not a finished demo of your product.
Why does my narration finish before the screen action?
The script may explain the step more quickly than the recording performs it. Remove unnecessary cursor travel, show a clear result hold, or rewrite the instruction. Avoid padding the voice with unrelated claims just to fill time.
How should I update a demo after an interface change?
Identify the changed action, record that section again, and check its control names in the script. Regenerate only the affected narration where practical, then review the transitions and exported video for inconsistent wording or volume.