
Turn a slide deck into a narrated video by writing a short script for each slide, generating the narration with Voice AI in Canva, and matching each slide to its audio. The useful unit is one slide and one idea: this makes changes easier when a diagram, number, or explanation needs updating.
This guide uses a three-slide project update as a practical example. Voice AI creates the speech; Canva controls the slide timing and video export. Start with a copy of your presentation so you can experiment without changing the version you present live.
Plan what the narration adds to each slide
A narrated presentation needs to make sense without you standing beside it. Give each slide a job: establish the situation, explain the evidence, or ask for a next step. Use the voice to connect the ideas instead of reading every visible bullet aloud.
For a project update, the slide might show a timeline while the narration explains which milestone matters. Write the narration in a separate script document with the same slide names as the deck. Keep dates, names, and numbers in that document so you can check them before generating audio.
- Opening slide: tell the viewer what they will understand by the end.
- Evidence slide: explain one finding and point to the relevant visual in words.
- Closing slide: state who should do what next, with a specific action.
Write a short script that can be revised slide by slide
Here is an original example for a fictional team update. Replace the details with facts from your project; the text is a writing example, not a recording or a claim about Voice AI.
Slide 1: What changed
“We have finished the first version of the onboarding checklist. Today, I will show you what is ready, what still needs review, and how you can help us test it.”
Slide 2: What needs attention
“The checklist now has three sections: account setup, first project, and support. The first-project section needs one more example. We want a new teammate to complete it without asking where to start.”
Slide 3: What happens next
“Please try the checklist with a sample project. Note any step that feels unclear, then share your comments with the onboarding team. We will use that feedback to revise the guide.”
Notice that each section finishes a thought. Avoid splitting an explanation between two slides just because the template has a fixed duration. Rewrite or rearrange the slides first, then produce the narration.
Generate the slide narration with Voice AI
Open your Canva presentation, then open Voice AI by imagination-soft from Canva Apps or the button in this guide. Paste the script for the first slide. Choose a voice that suits the audience and preview it before committing to the whole deck.
Keep the voice and speaking-speed settings consistent across slides. If the selected voice offers emotion controls, use them sparingly for an informational update. Generate the audio, listen to the actual result, and add it to your design. Repeat for the remaining slide scripts.
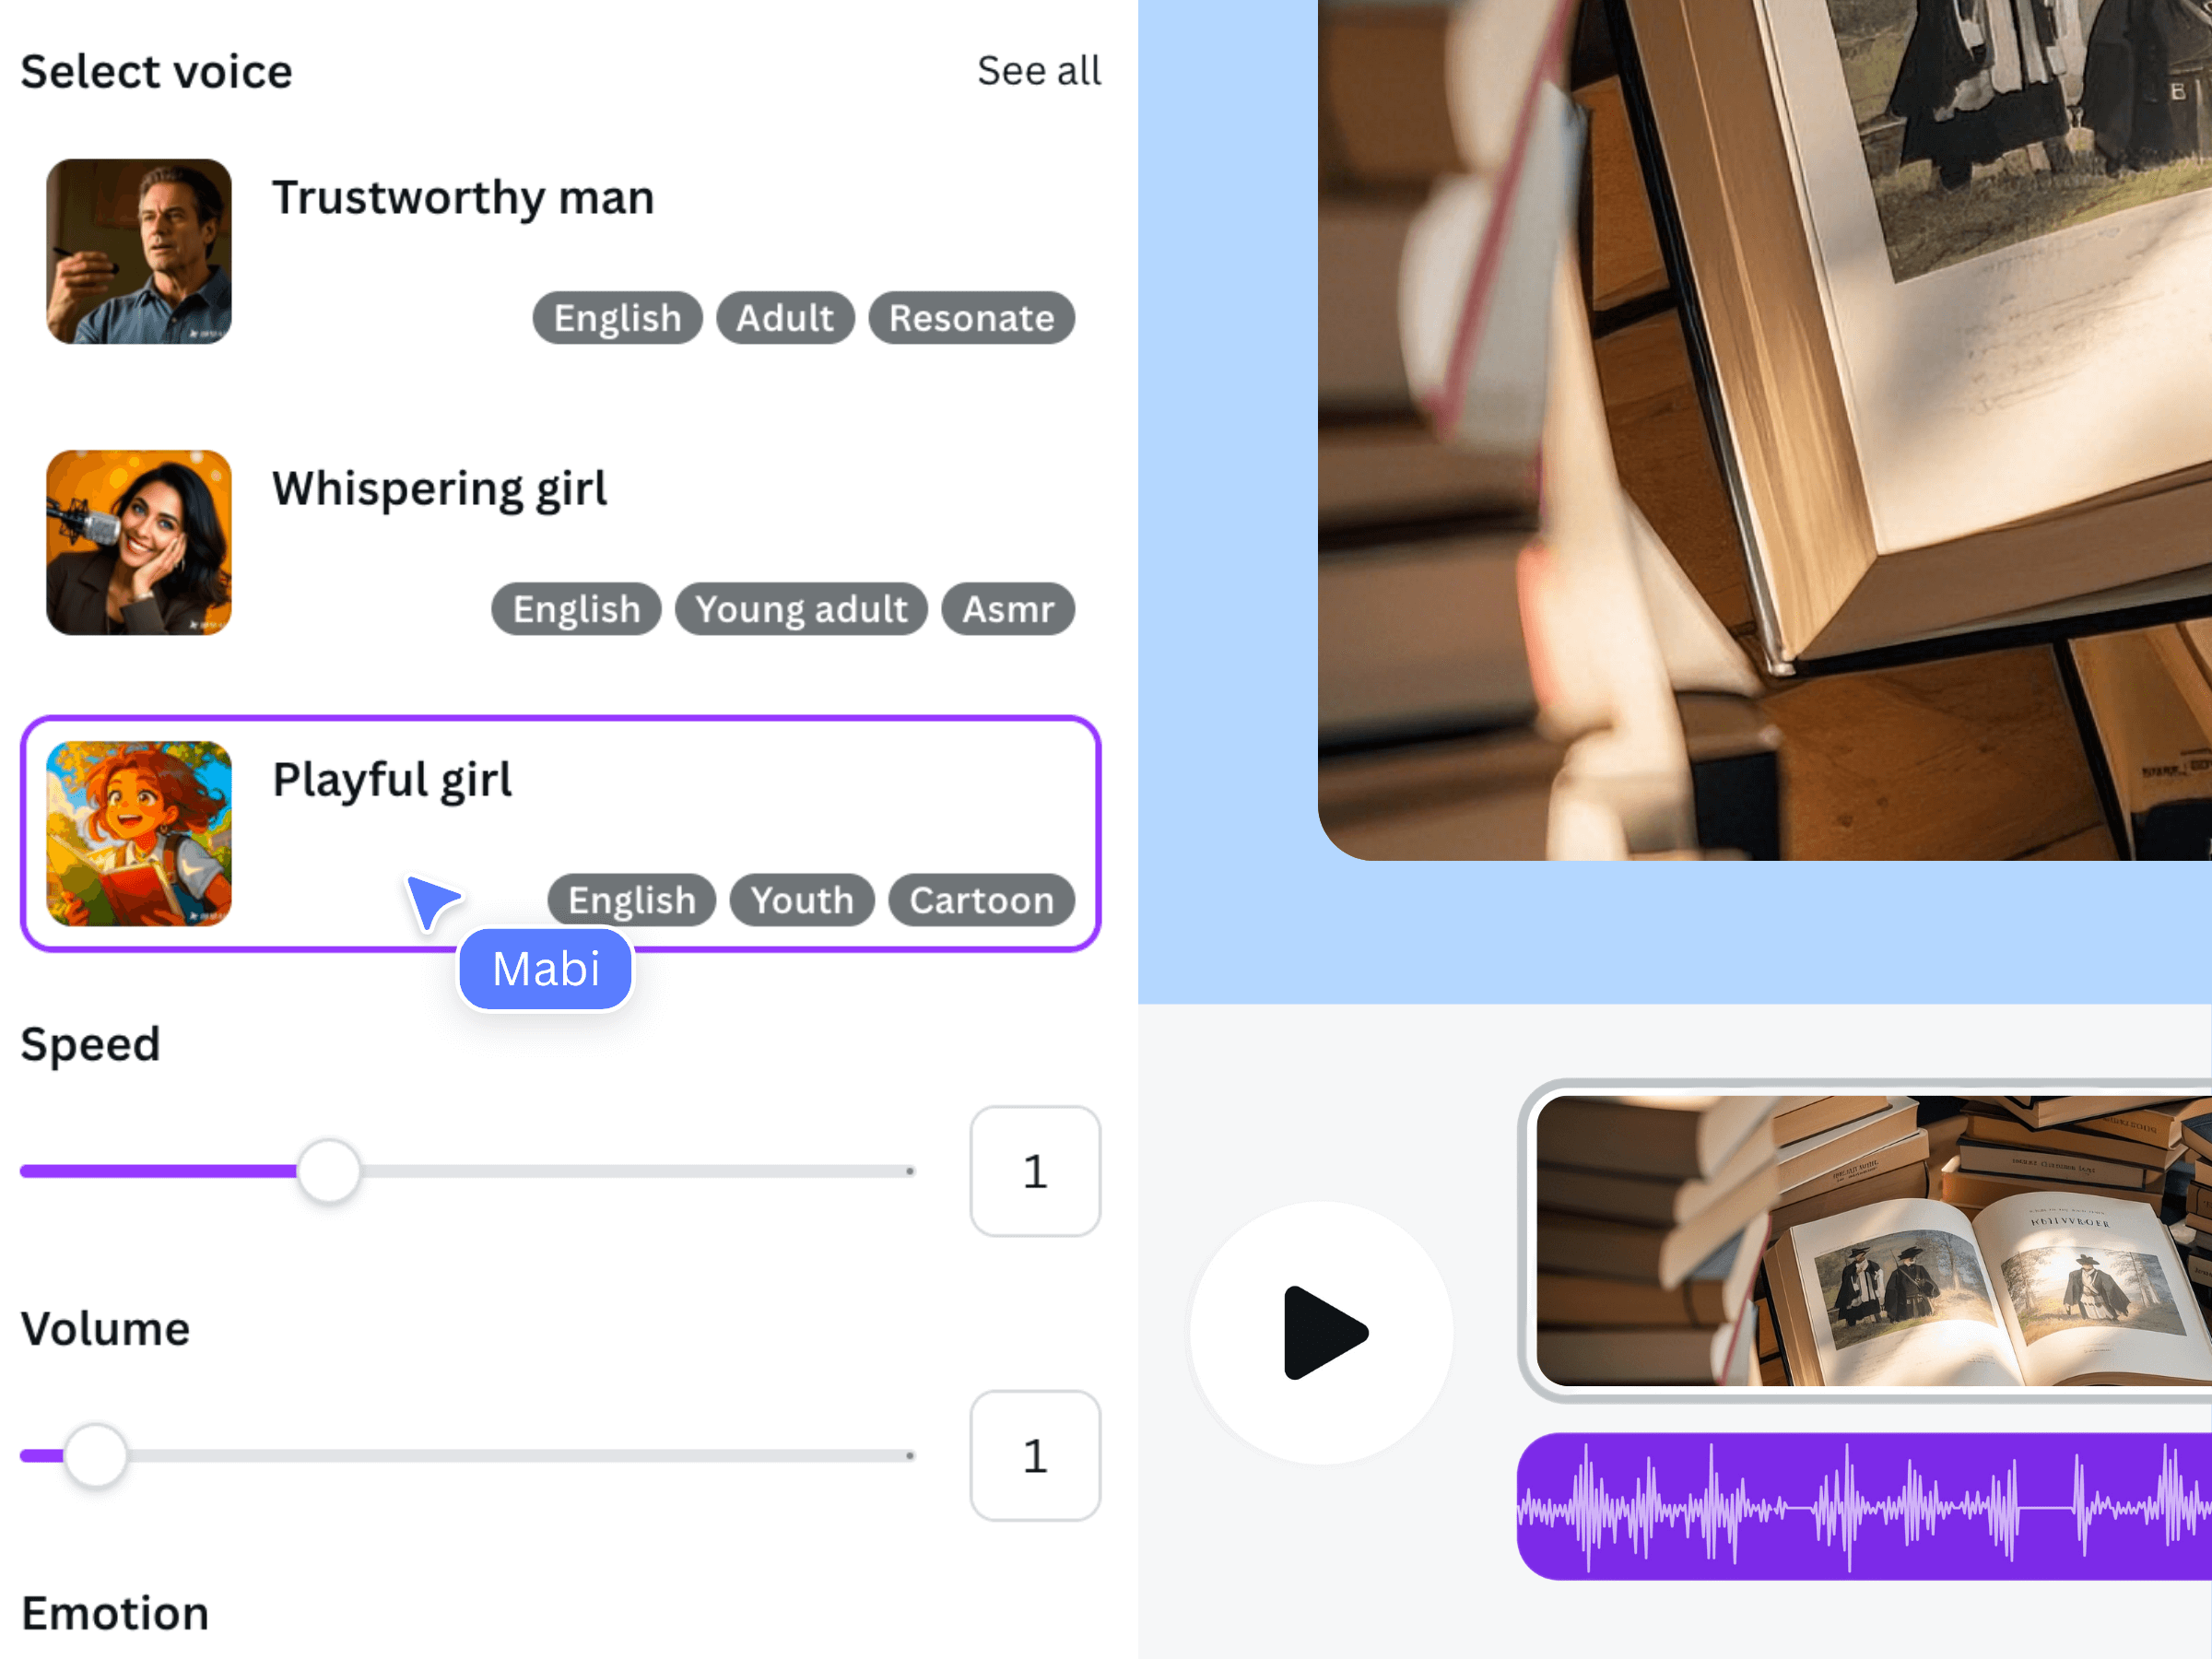
The official illustration shows Voice AI voice and delivery controls alongside a Canva design. The interface may differ from your current version; available settings depend on the selected voice.
Match the slides to the finished narration
Use the generated clip duration as your starting point. Position the first narration at the opening slide, then give that slide enough time for the sentence to finish and the viewer to inspect the visual. In Canva's timing or timeline view, adjust the page or scene duration and position the next audio clip after it.
Do not force a detailed chart into an arbitrary short slide. If the spoken explanation fits but the viewer cannot read the chart, simplify the chart or leave more time. If a narration is unnecessarily long, shorten the script before speeding it up.
- Preview the last sentence of one slide together with the first sentence of the next.
- Check for overlapping audio, clipped word endings, and unexplained silence.
- Recheck later slides after changing an earlier duration; their intended start points may have moved.
Review the deck as a viewer and export a video
Watch the presentation from the beginning without pausing. The on-screen labels should agree with what the voice says, and a viewer should understand references such as “this result” without guessing. Ask a colleague to review an unfamiliar slide if the material is complex.
For a self-playing narrated version, use Canva's Share and Download flow and choose MP4 Video. Select the intended slides and inspect the downloaded file, including the first and last words. Keep your editable presentation and script together so future updates do not require rebuilding the whole narration.
Frequently asked questions
Do I have to record my own voice?
No. Voice AI turns your written script into speech. You still need to review pronunciation, timing, and the accuracy of what the script says before sharing the presentation.
Should I generate the whole presentation as one clip?
You can organize the script to suit your workflow, but separate slide-sized sections are easier to revise and position. A single long clip can be inconvenient when only one slide changes.
Will the audio be included in a PDF of the slides?
Use a video export when the deliverable needs timed narration. A static PDF is not a substitute for the narrated MP4; check the actual format your audience will receive.
Does Voice AI set the slide durations automatically?
This workflow uses Voice AI for speech generation and Canva for timing. Review and adjust slide durations yourself instead of assuming that the narration will automatically match every slide.