
Build an educational video around one thing the learner should be able to do afterward. Write a short explanation, generate its narration with Voice AI in Canva, and leave space for the learner to inspect an example or attempt a question. The goal is understanding, not filling every second with speech.
This guide uses a simple lesson on finding the area of a rectangle. The same planning method can support other subjects, but the teacher or subject expert still needs to check the content, examples, and final narration.
Define a small, observable learning goal
Instead of “learn about shapes,” choose “calculate a rectangle's area from its length and width.” That goal tells you what to include and what to leave for another lesson. A brief reminder of prerequisite knowledge can help, but avoid opening with a long history of the subject.
Decide how the learner will show understanding. In this example, the final question asks for the area of a new rectangle. Design that question before writing the explanation so the lesson prepares the learner for exactly the task you will ask them to do.
Match each spoken idea to a visual
Create a small storyboard in Canva. Start with a labeled rectangle, show how its dimensions relate to the calculation, then introduce a new example for the learner to solve. Keep units visible and consistent throughout the sequence.
- Introduce: show a rectangle with its length and width labeled.
- Explain: connect the side lengths to the area calculation.
- Demonstrate: work through one complete example with units.
- Practice: show a different rectangle and invite the learner to pause.
- Review: reveal the answer and explain the calculation.
Use a diagram that supports the explanation without unnecessary decoration. If you animate a label, time its appearance to the phrase that introduces it. Do not make the learner read a paragraph while listening to a different paragraph.
Write the explanation in small segments
Here is an original example script for the worked problem. The rectangle is four centimeters long and three centimeters wide, so its area is twelve square centimeters.
Introduce the idea
“Area tells us how much surface a shape covers. For a rectangle, multiply its length by its width. Keep the units in mind as you calculate.”
Work through the example
“This rectangle is four centimeters long and three centimeters wide. Four times three is twelve, so its area is twelve square centimeters. The answer uses square units because we are measuring a surface.”
Ask the learner to try
“Now try a rectangle that is five centimeters long and two centimeters wide. Pause the video and calculate its area. When you are ready, continue to compare your answer.”
On the answer scene, explain that five times two equals ten square centimeters. A practice pause gives the learner a task; it should not simply be a long silent gap without an instruction.
Generate and check the educational narration
Open Voice AI by imagination-soft inside Canva. Select a voice that is easy to understand for the intended learners, then test a passage with the lesson's numbers and subject terms. A slower pace may help with unfamiliar material, but clarity matters more than choosing a universally slow setting.
Generate one complete teaching segment at a time. Listen for the difference between “centimeters” and “square centimeters,” and check that the spoken numbers agree with the diagram. Review the factual content yourself; fluent speech is not evidence that a lesson is correct.
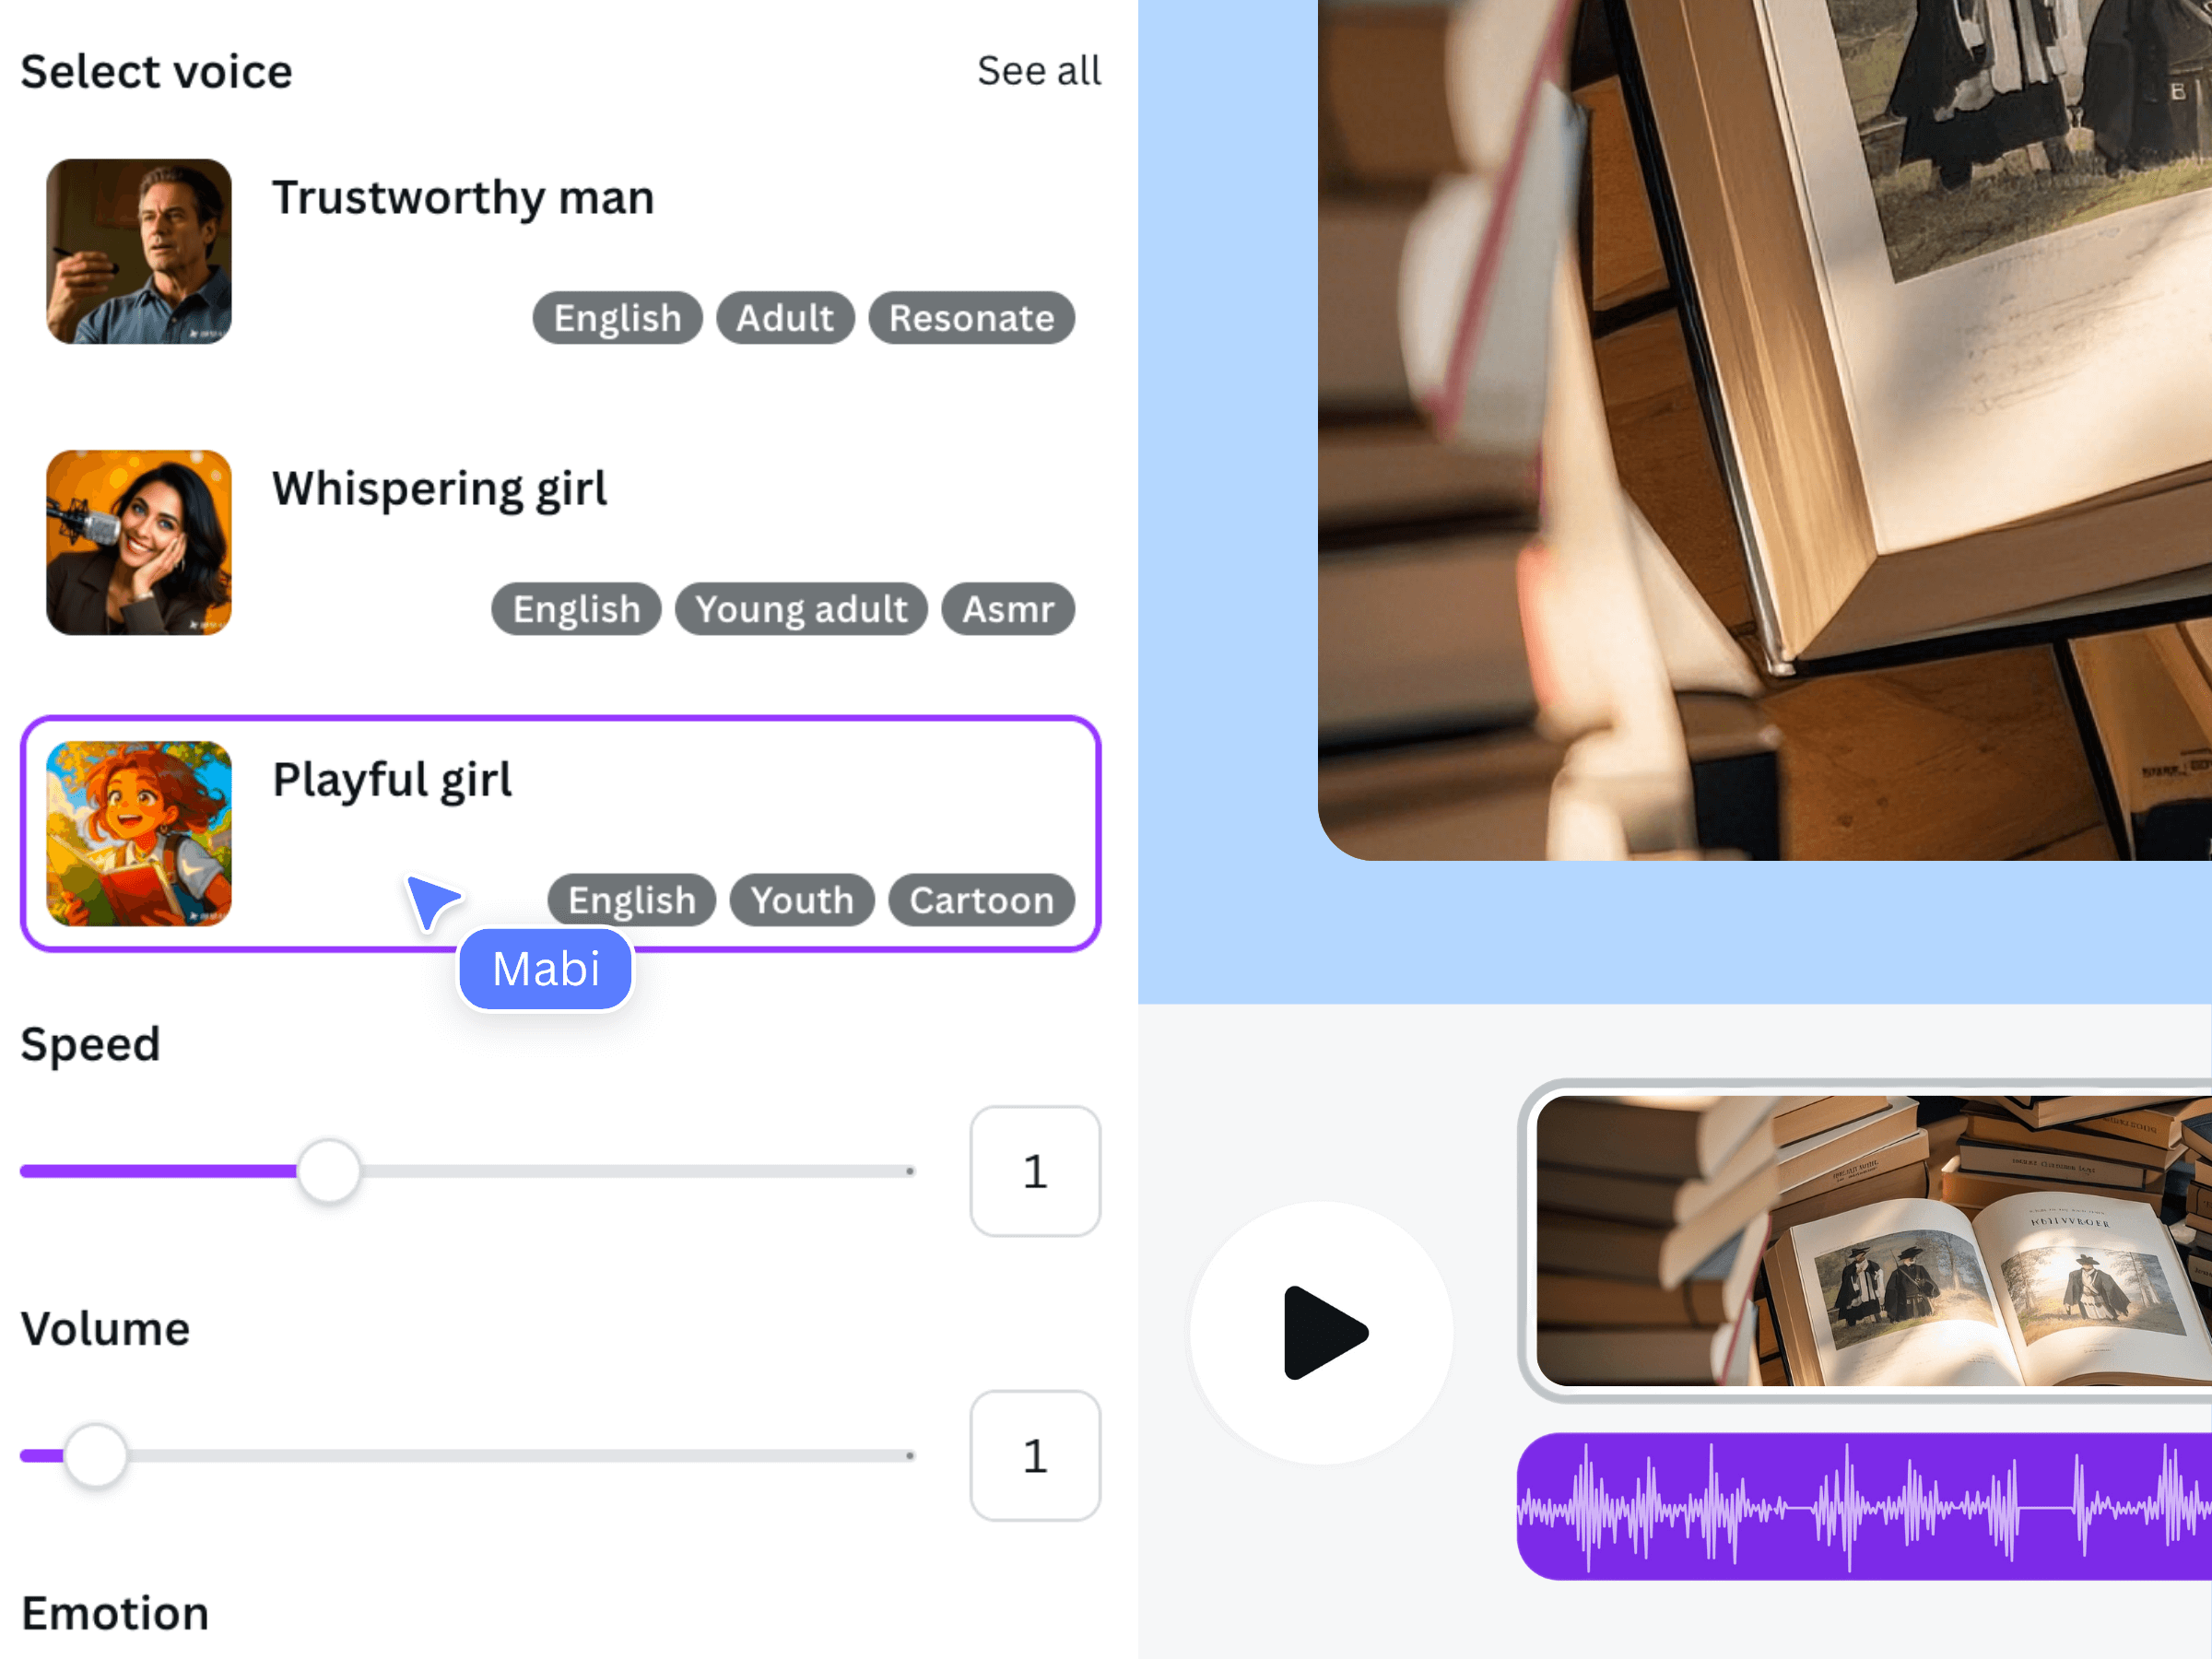
The official Voice AI illustration shows voice selection and delivery settings. Use the current app's controls to choose the delivery, then check the generated lesson audio rather than relying on the sample alone.
Leave room to think and review the finished lesson
Add the narration to Canva and align each clip with its diagram. Leave the worked answer visible long enough to inspect it. For the practice question, explicitly invite viewers to pause; then provide a sensible visual break before revealing the solution.
If you include captions, review the transcription of formulas, units, and names. Check that the lesson can still be followed when a learner misses a word. Export an MP4 and watch it from start to finish, including the practice and answer transition, before sharing it with the class.
Frequently asked questions
How many concepts should one educational video cover?
Start with one clear learning objective. Add supporting ideas only when they are needed to complete that task. More advanced connections can become separate lessons with their own examples and practice.
Should I generate the whole lesson as a single clip?
Separate explanations, worked examples, and practice instructions are easier to revise and time. Keep each segment large enough to finish a thought, and check that the transitions still sound natural.
Can AI narration replace checking the lesson?
No. Verify facts, calculations, pronunciation, and the match between speech and visuals. A subject expert should review unfamiliar or consequential material before it is shared with learners.
Do I need music under the lesson?
No. If music makes instructions harder to hear, leave it out. A clean voiceover with well-timed diagrams is a useful starting point for instructional content.